Installing Rpi OS Legacy Lite on Raspberry Pi 4B
Introduction
Hi guys, this is the first article in my DIY Raspberry Pi NAS series. In this post, we will install Raspberry Pi OS on a Raspberry Pi single-board computer. After that, we will use it as the foundation to install various third-party applications and build the basic services of a NAS.
Required Equipment
- Raspberry Pi 4B
- 64GB microSD card
- microSD card reader
- Raspberry Pi power supply
- Ethernet cable
- HDMI cable
- Mini HDMI adapter
- Monitor
Procedure
- First, format the microSD card and prepare it for installing Raspberry Pi OS.
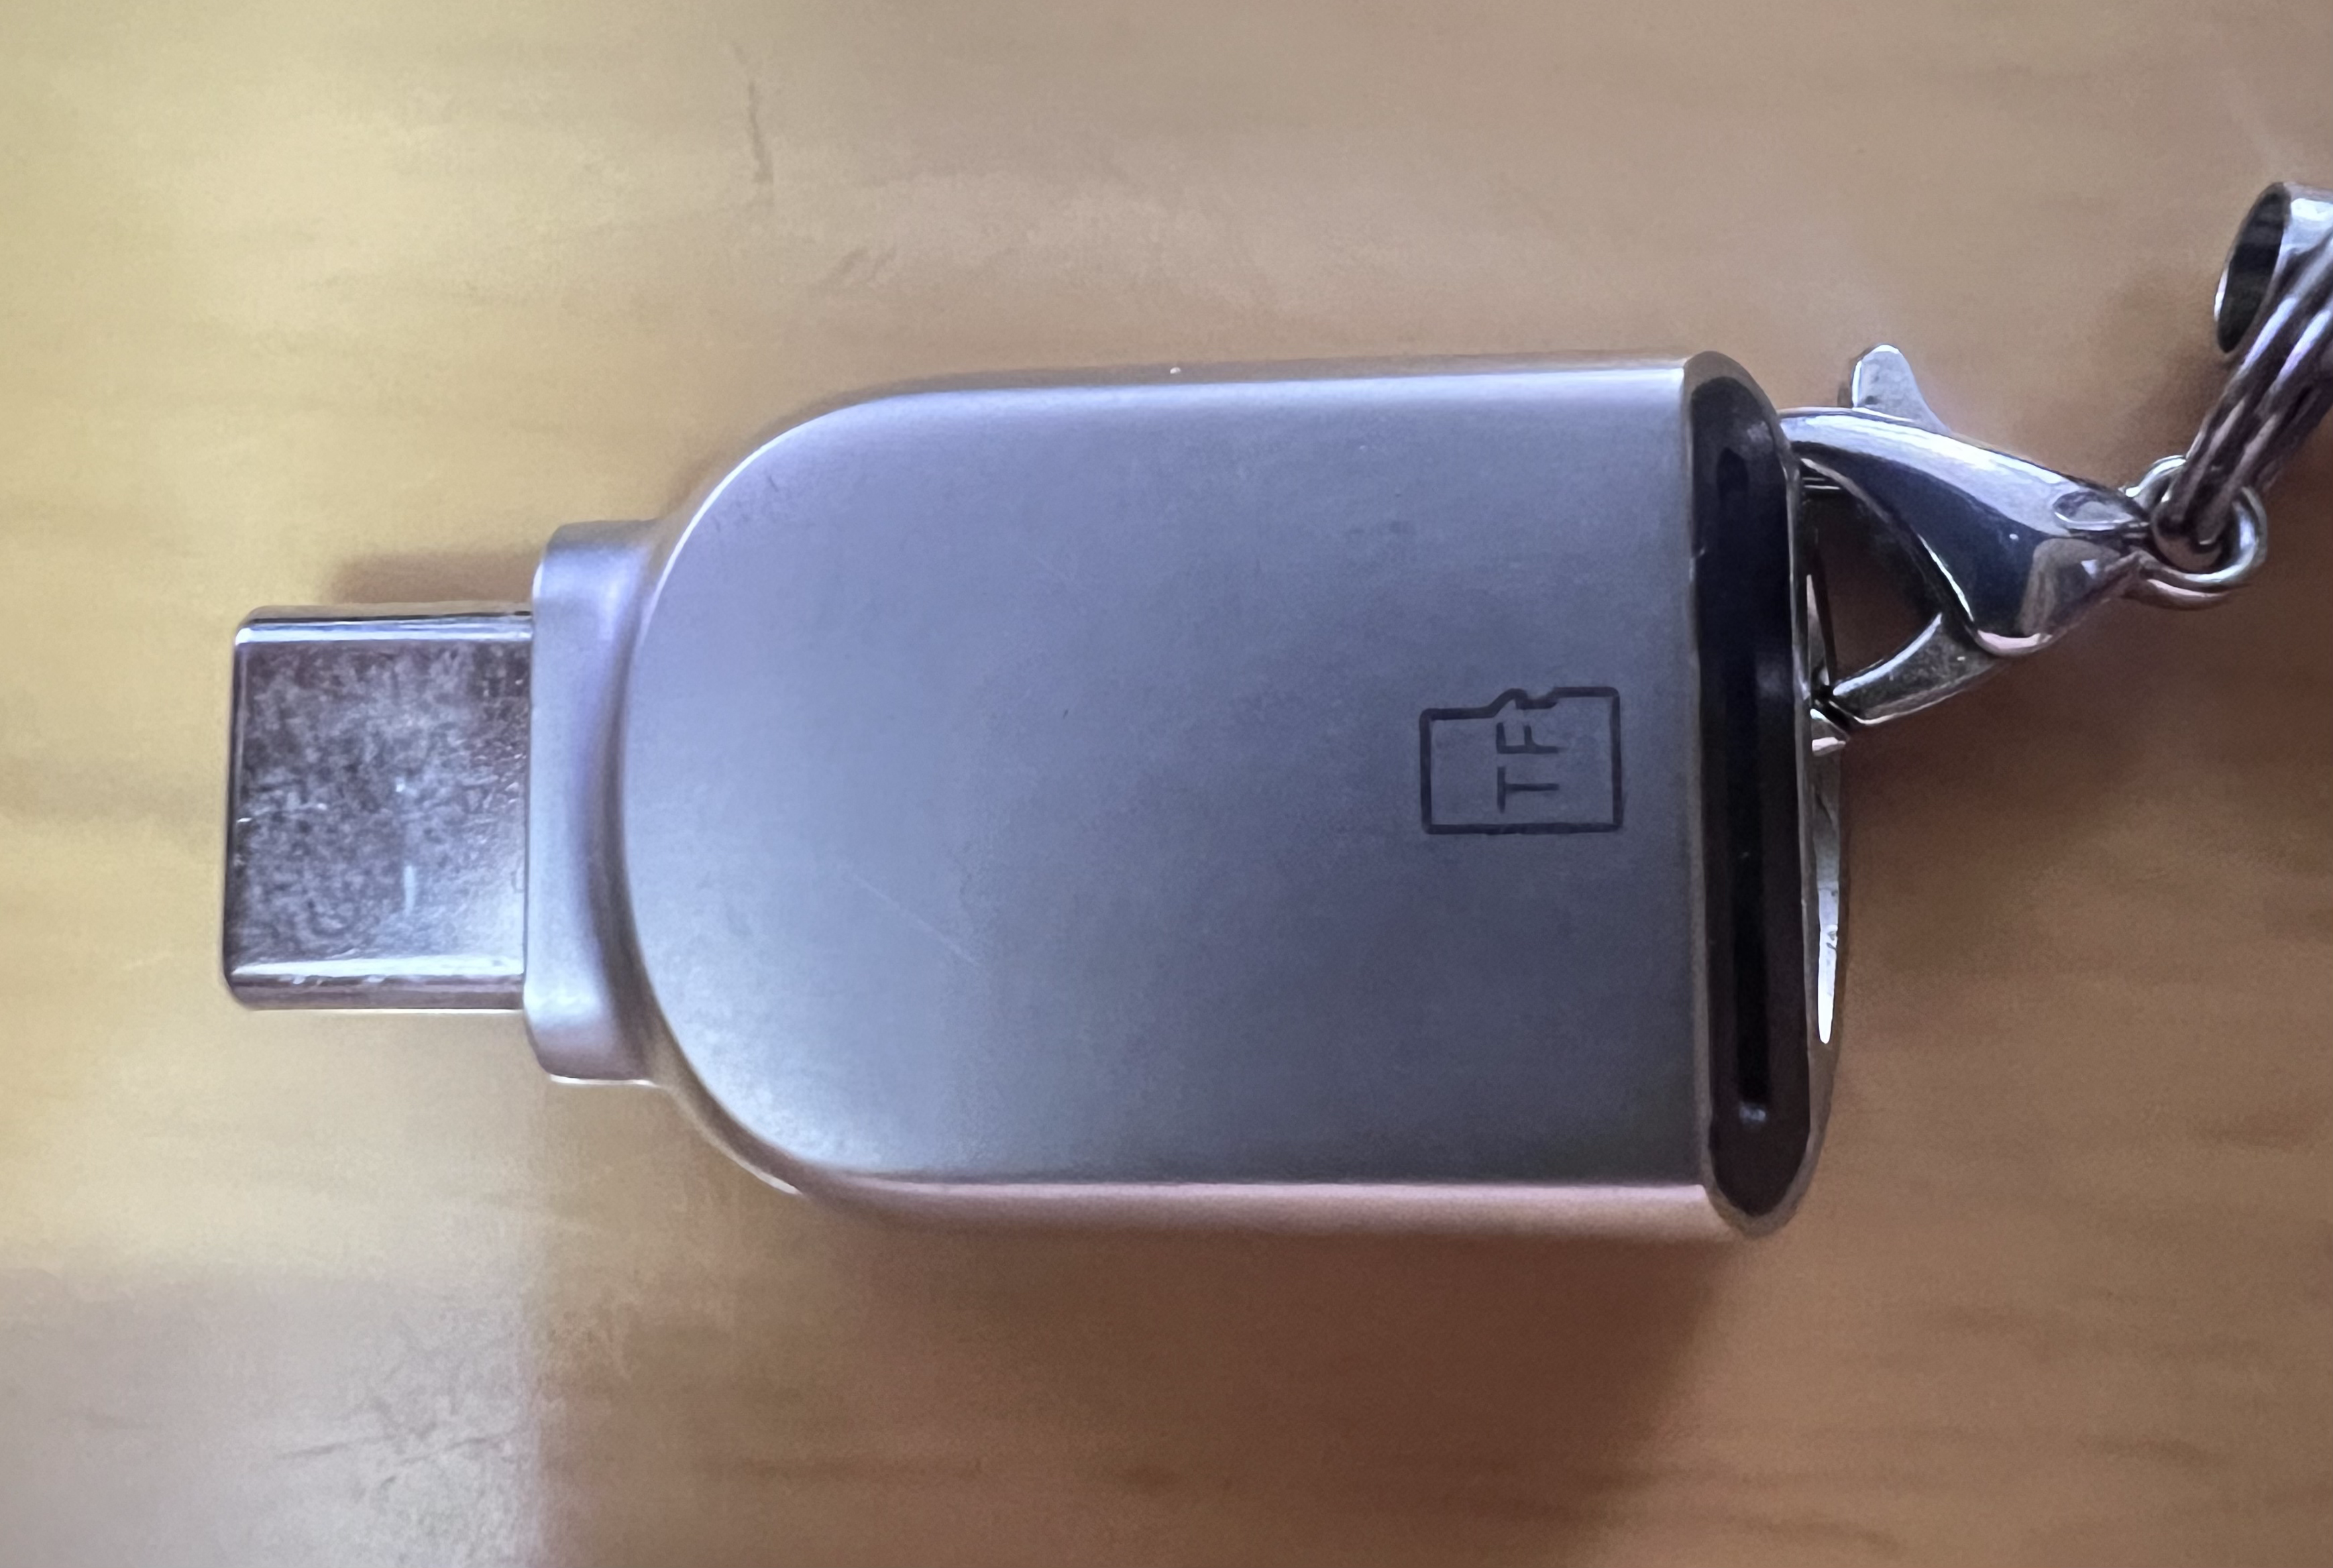
- Insert the microSD card into the card reader.
![]()
- Download Raspberry Pi Imager, the official image flashing tool for Raspberry Pi.
- Download the latest version (for example, imager_1.8.5) from the official Raspberry Pi website to ensure security, rather than downloading it from third-party platforms.
4.1 Click here –> Raspberry Pi official website download link
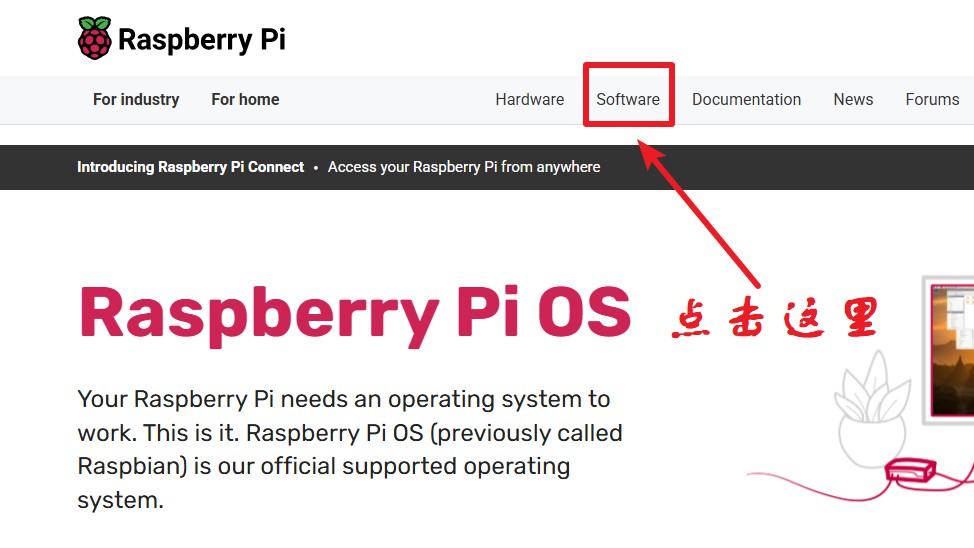
4.2 Go to the homepage and click “Software” in the top navigation bar.
![]()
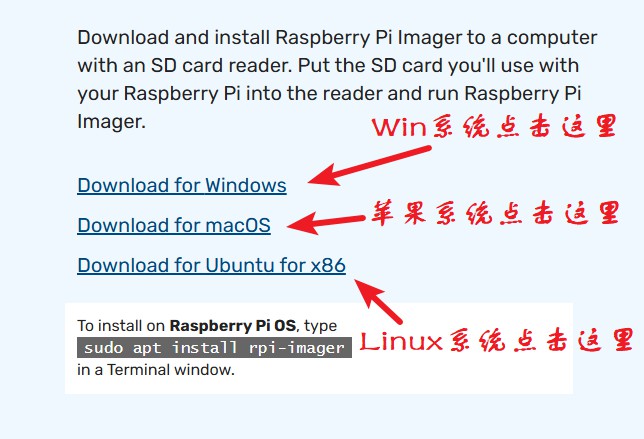
4.3 Scroll down and find “Download for XXX”.
![]()
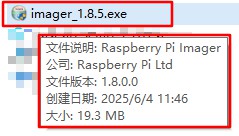
4.4 Download the file to any location on your local disk.
![]()
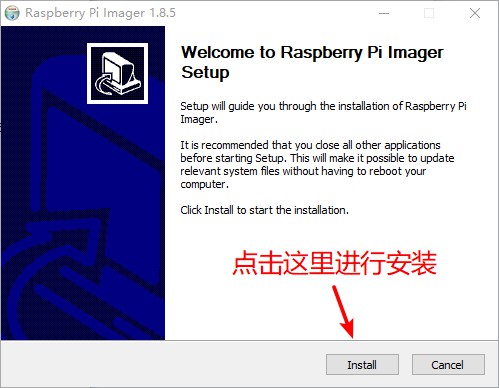
4.5 After the download is complete, double-click the installer to start the installation. Click “Next” until the installation is finished, or choose any drive you prefer for installation.
![]()
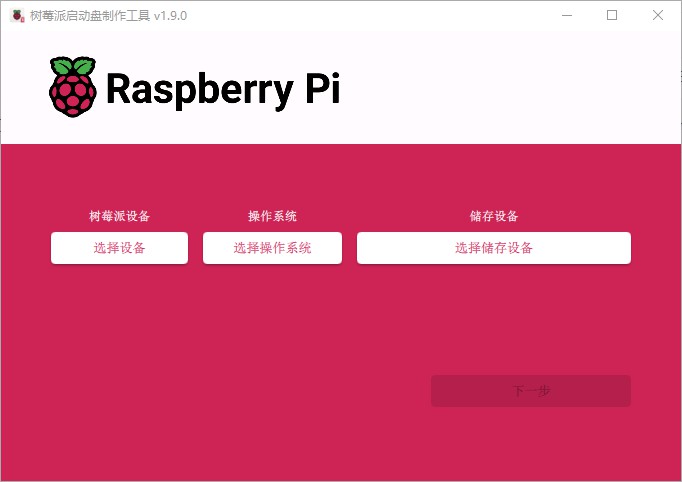
- Open Raspberry Pi Imager and start flashing Raspberry Pi OS.
![]()
5.1 Click “Choose Device” and select your Raspberry Pi model according to your needs.
![]()
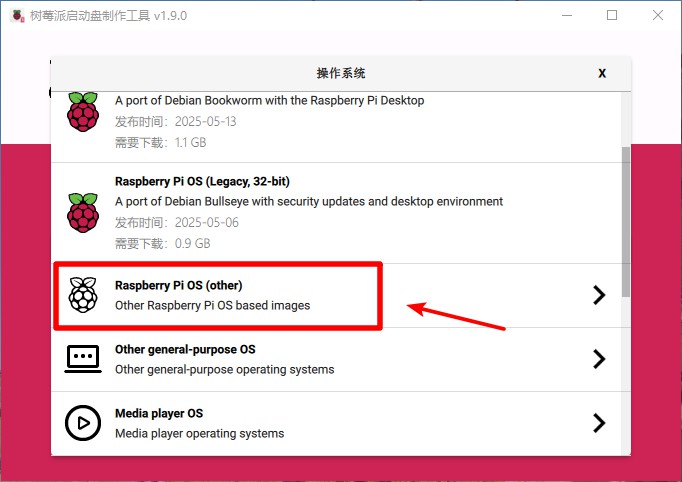
5.2 Click “Choose OS”.
Notes:
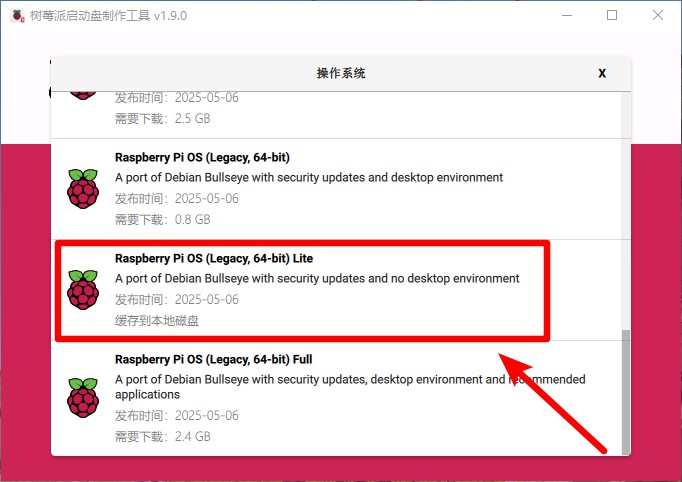
If you want to reduce power consumption, select Raspberry Pi OS (Legacy, 64-bit) Lite, which does not include a desktop environment and only provides a command-line interface.
If power consumption is not a concern, select Raspberry Pi OS (Legacy, 64-bit) Full, which includes a graphical desktop environment.
![]()
![]()
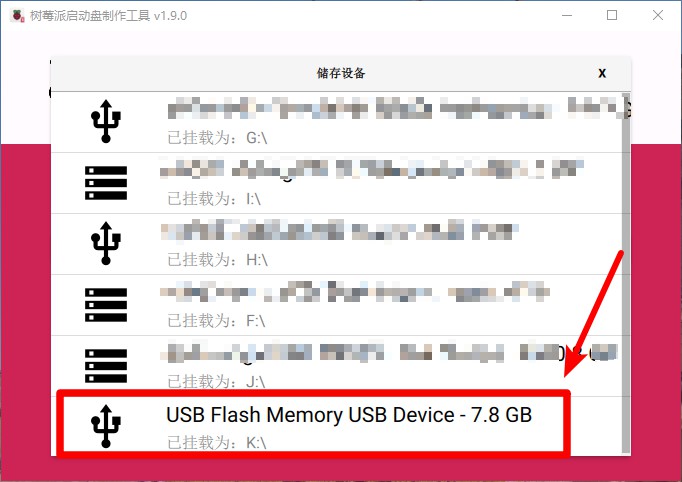
5.3 Click “Choose Storage” and select your storage device.
![]()
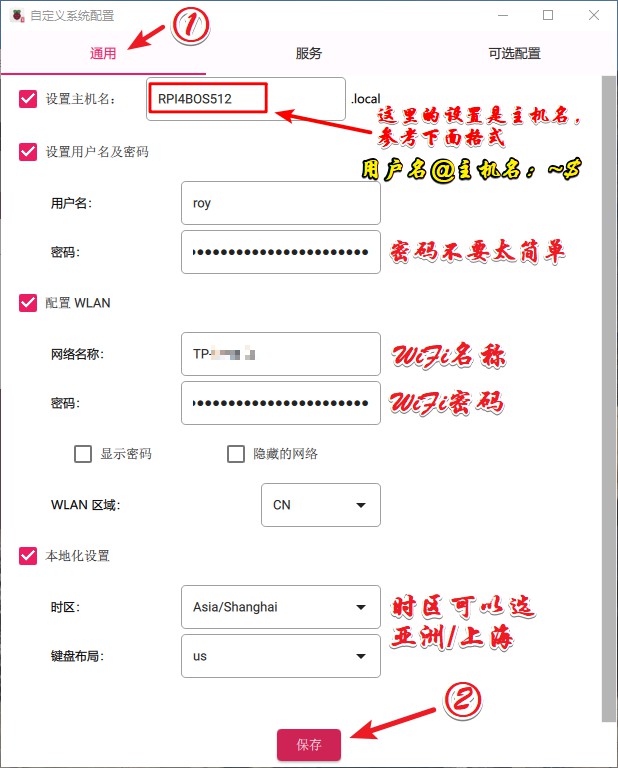
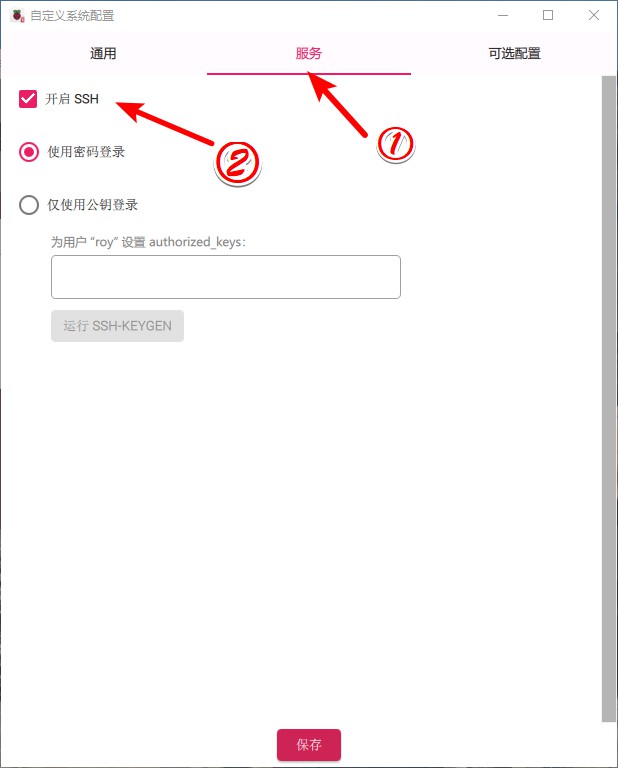
5.4 Click “Next”. A pop-up window will appear. Click “Edit Settings”.
![]()
![]()
![]()
![]()
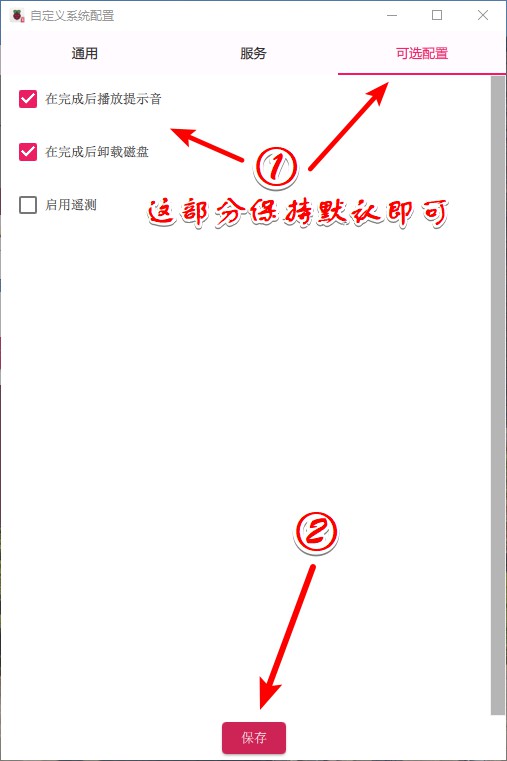
5.5 Finally, click “Save” and then “Next”. A warning dialog will appear. Click “Confirm”. This will erase all existing data on the card, so make sure to back up your data if necessary.
![]()
![]()
- After the flashing process is complete, close the Raspberry Pi Imager.
- A system prompt may appear on your desktop asking to format the drive. Do not worry—just click “Cancel”.
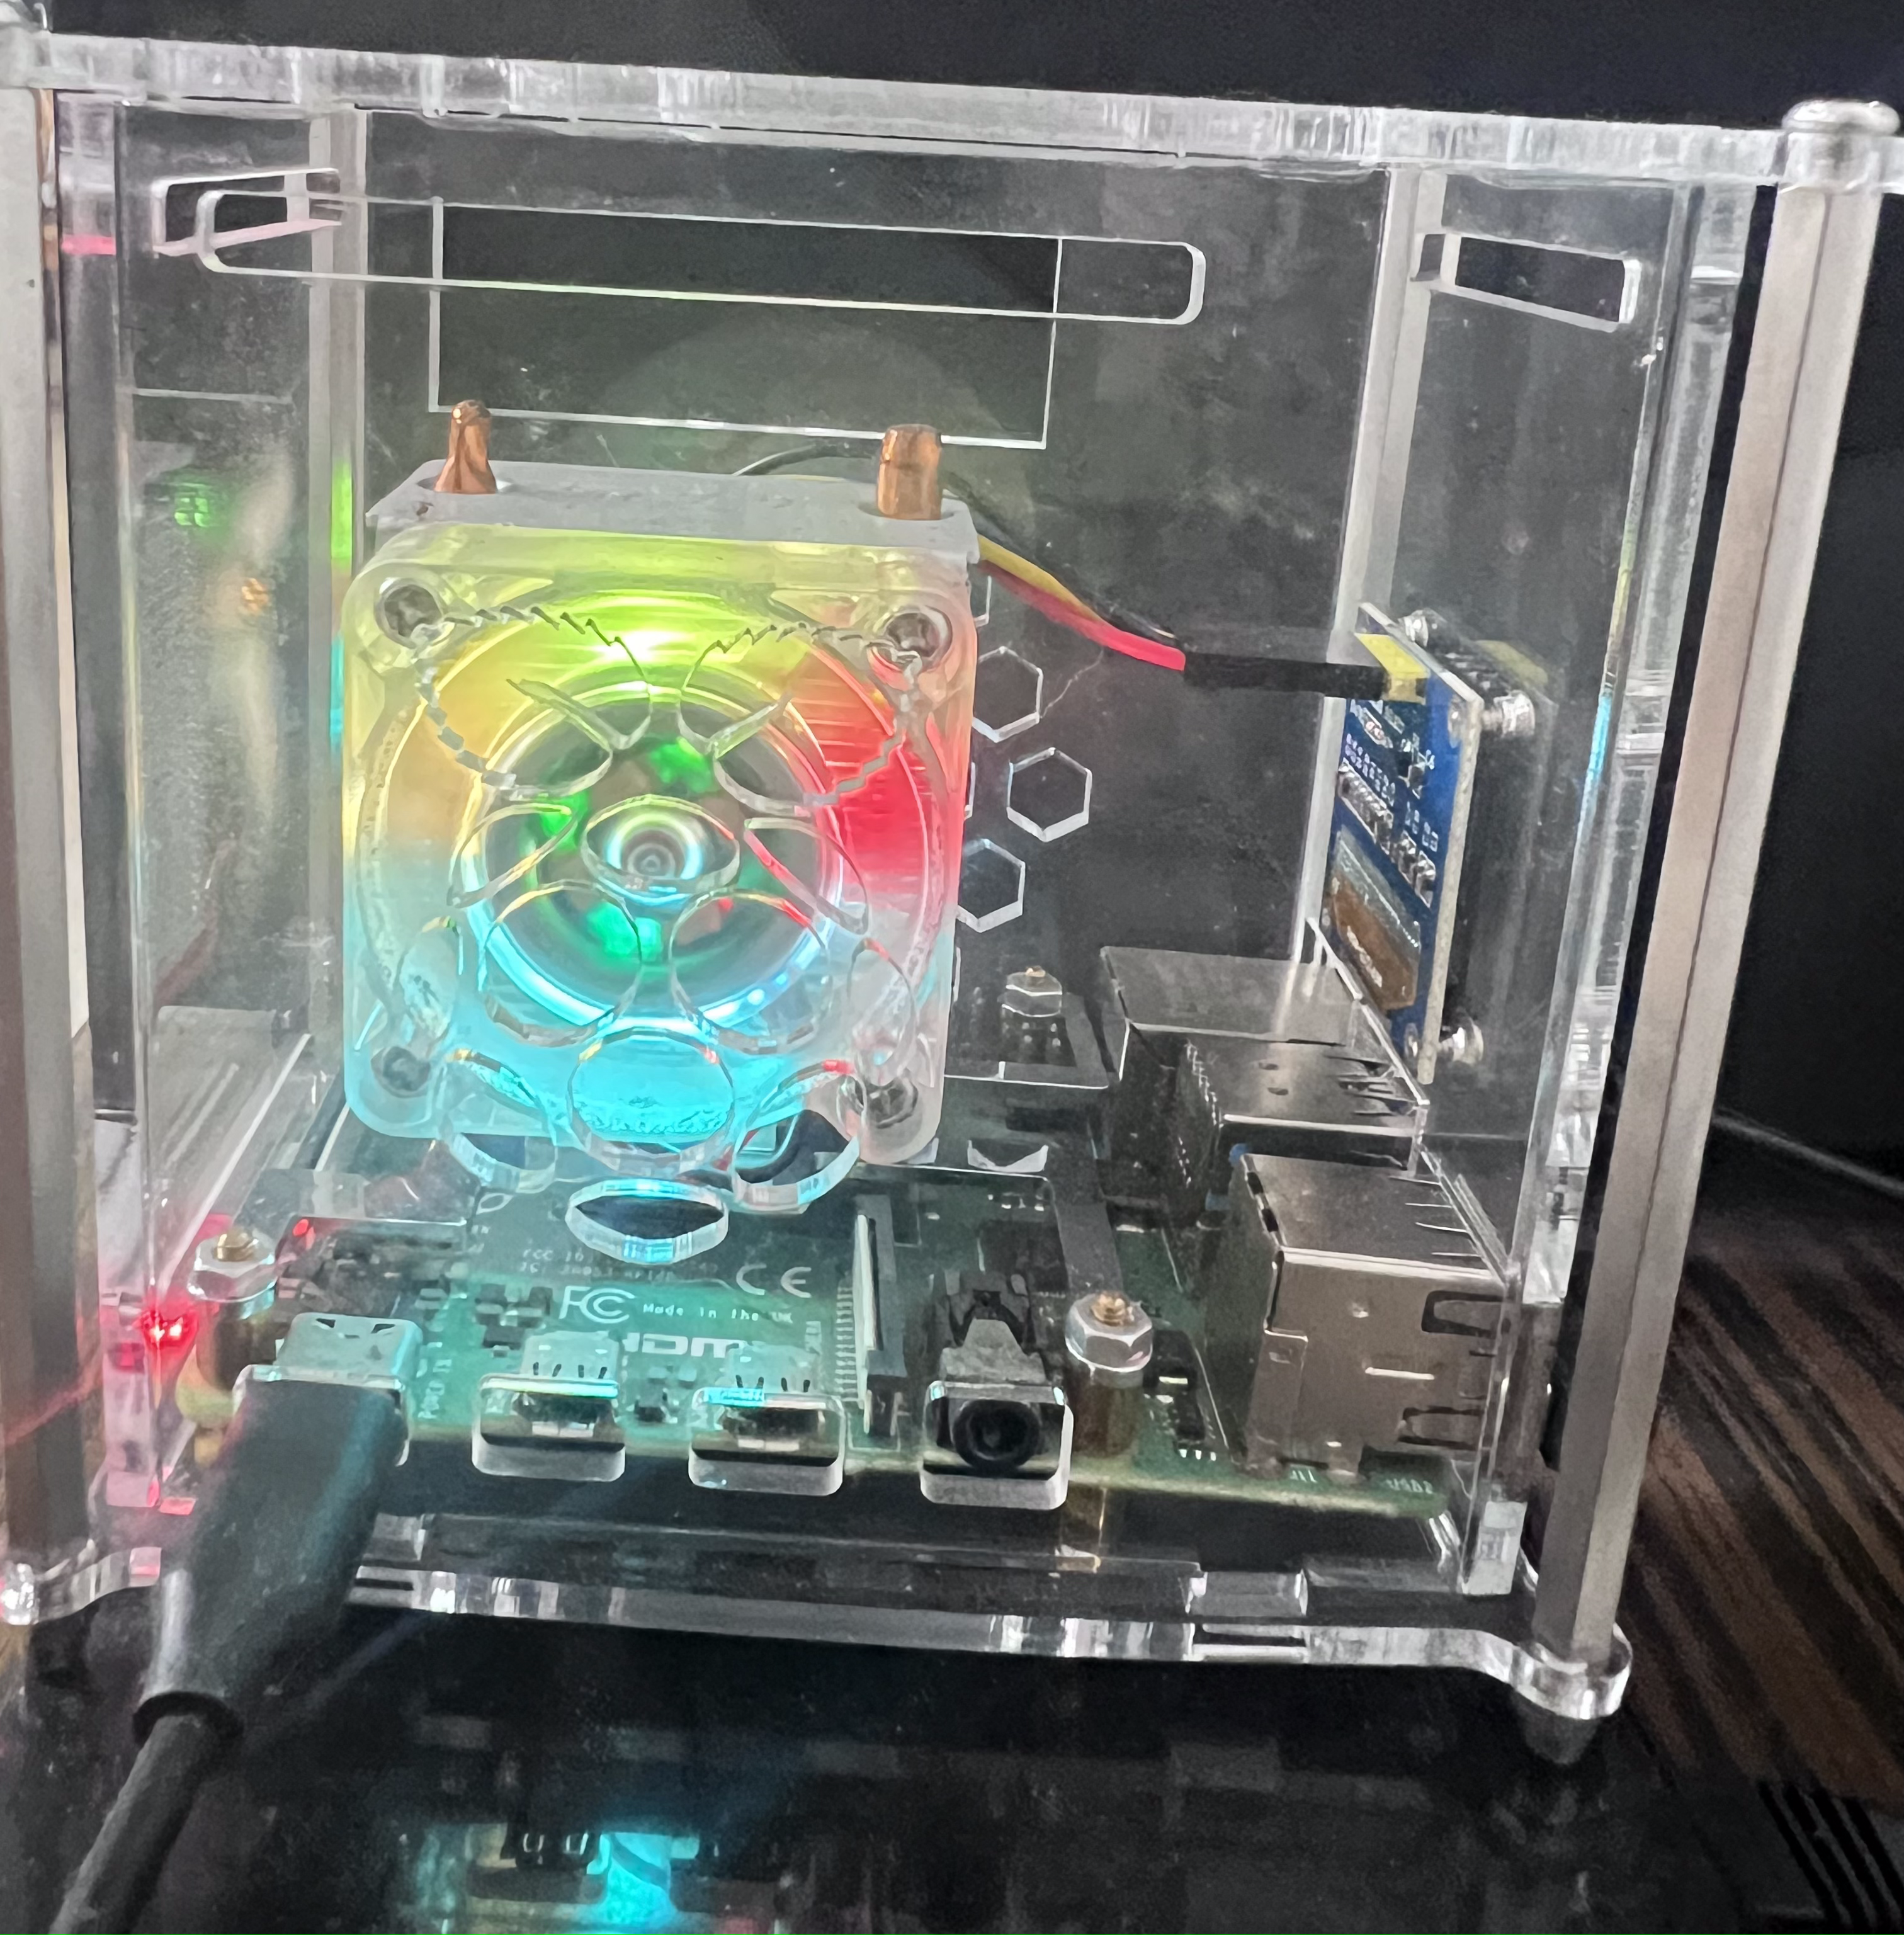
- Remove the microSD card and insert it into the Raspberry Pi.
![]()
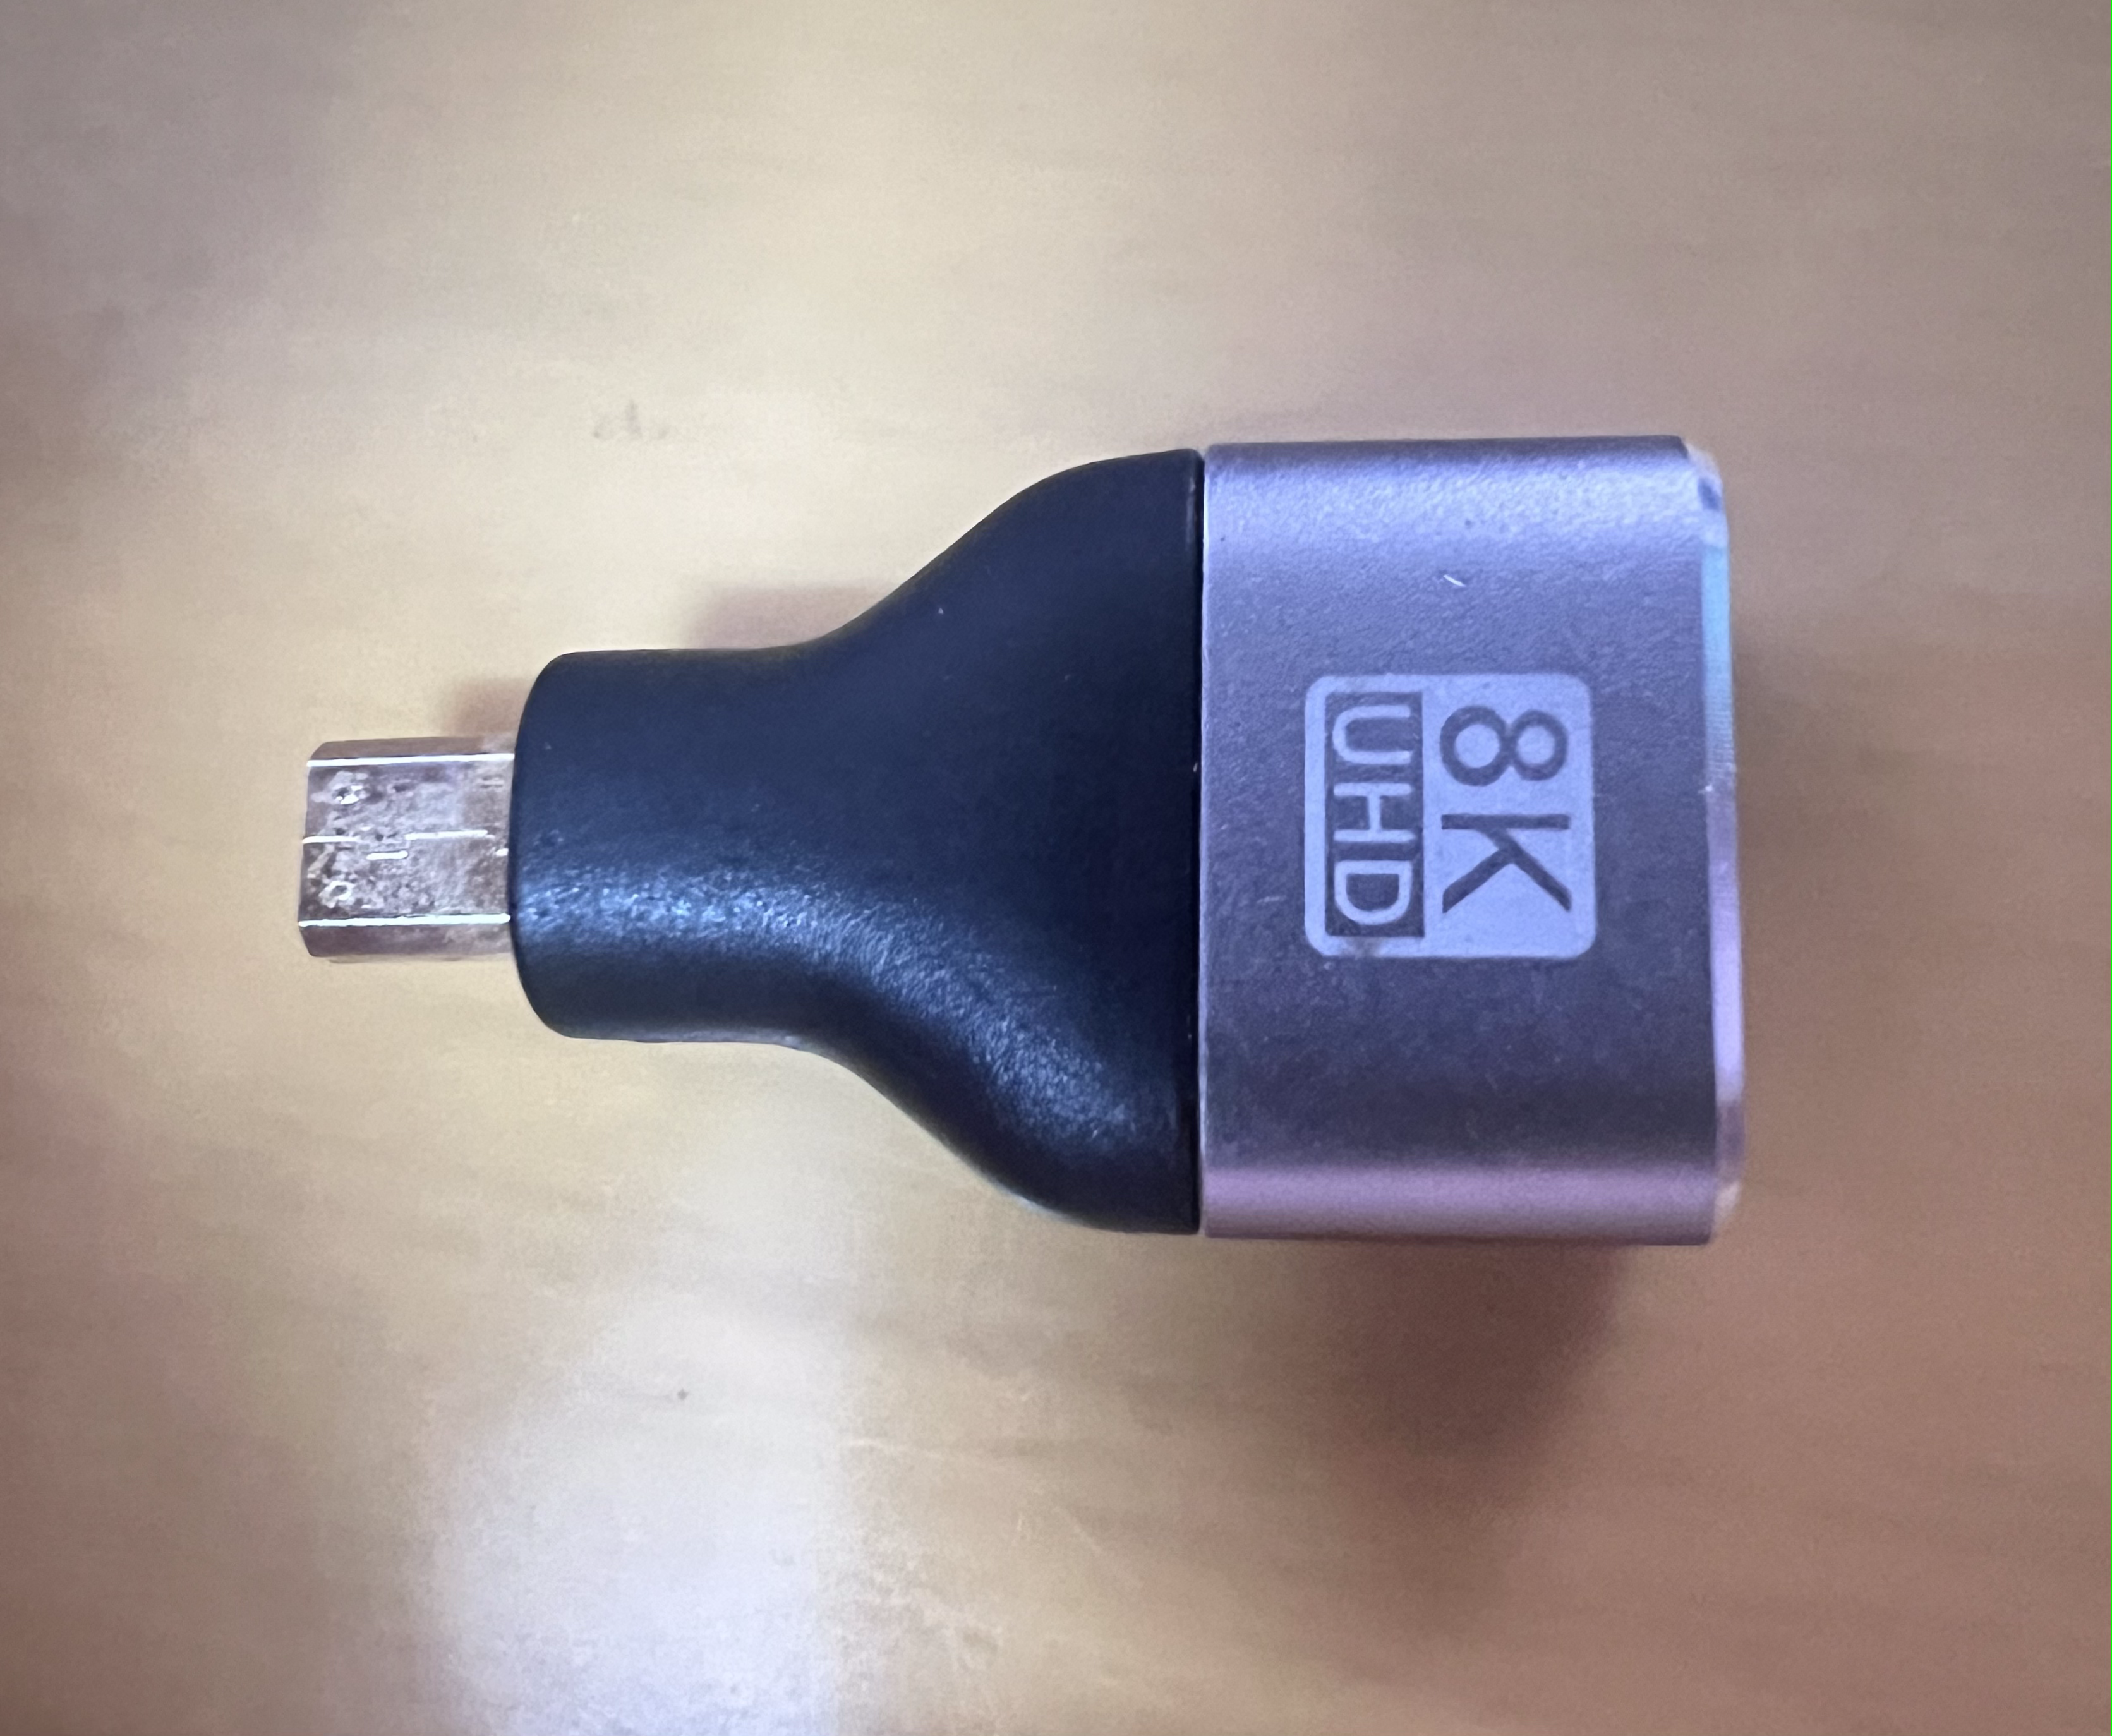
- Connect the Mini HDMI adapter, and use an HDMI cable to connect the Raspberry Pi to the monitor.
![]()
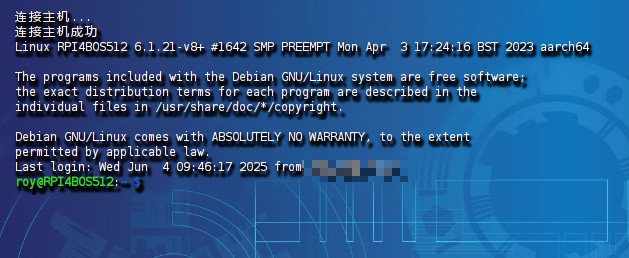
- Power on the Raspberry Pi and wait a few minutes for the system to initialize.
- When the command-line interface appears, enter the login username and password.
![]()
- Congratulations! Raspberry Pi OS has now been successfully installed.


Conclusion
After completing the steps above, we can move on to DIY this Ubuntu system on the Raspberry Pi.
Please stay tuned to this technical blog for the upcoming articles. Thank you!