Deploying an OpenWrt Bypass Router on Raspberry Pi Using Docker
Introduction
A bypass router architecture allows the main router to continue handling PPPoE dialing and DHCP services, while a Raspberry Pi acts as a secondary gateway within the same LAN.
By assigning a static IP and configuring routing rules, devices on the network can optionally route their traffic through the Raspberry Pi.
This approach has several advantages:
- It does not modify the existing network topology.
- The bypass router can be removed at any time without affecting the main network.
- Devices can selectively use the proxy gateway.
Objective
Run OpenWrt as a bypass gateway (transparent gateway) inside Docker on a Raspberry Pi.
- Network architecture diagram:
![]()

Enable Network Interface Promiscuous Mode
- Promiscuous mode allows both the host system and the virtualized OpenWrt instance to receive network packets.
- Choose one of the following depending on your connection type.
- Wired Connection
1
sudo ip link set dev eth0 promisc on
- Wi-Fi Connection
1
sudo ip link set dev wlan0 promisc on
![]()
- Wired Connection

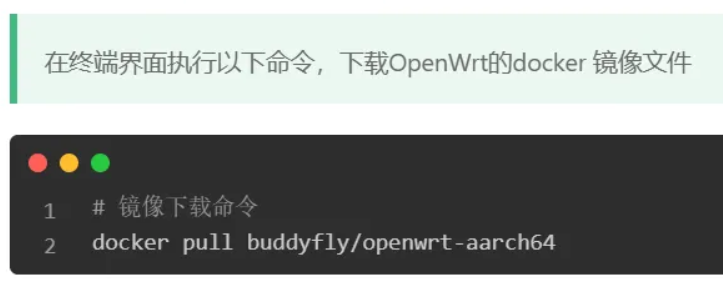
Download the OpenWrt Docker Image
- Run the following command to download the image
1
docker pull buddyfly/openwrt-aarch64
![]()
![]()
![]()
- After downloading, verify the image exists
1
docker images
![]()


Check Whether a Docker Virtual Network Exists
- Before creating the network, check the existing Docker networks.
1
docker network ls
- If a network with the same name already exists, remove it, e.g.:
macnet1
docker network rm <network_name>
![]()

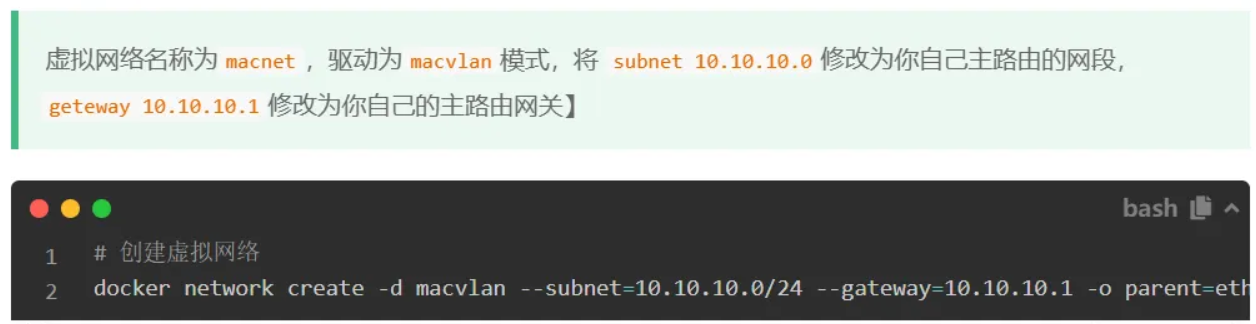
Create a Docker Virtual Network
- We will create a macvlan network so that the OpenWrt container can obtain an IP address within the same LAN as the main router.
- Replace the subnet and gateway values with your own network settings.
![]()
- Example
1
2
3
4
5
docker network create -d macvlan \
--subnet=10.10.10.0/24 \
--gateway=10.10.10.1 \
-o parent=eth0 \
macnet - Example based on a typical home network:
- Wired Connection
1
2
3
4
5
docker network create -d macvlan \
--subnet=192.168.0.0/24 \
--gateway=192.168.0.1 \
-o parent=eth0 \
macnet - WiFi Connection
1
2
3
4
5
docker network create -d macvlan \
--subnet=192.168.0.0/24 \
--gateway=192.168.0.1 \
-o parent=wlan0 \
macnet![]()
- Wired Connection

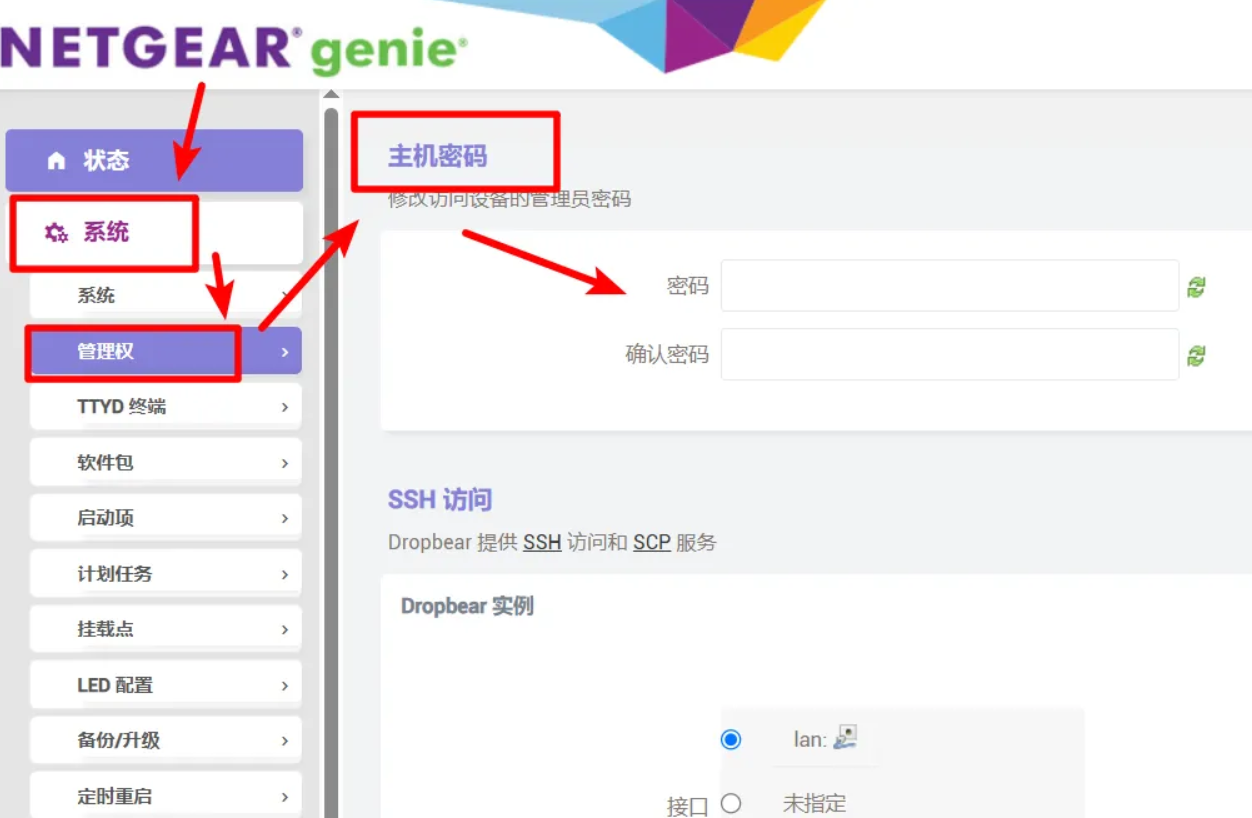
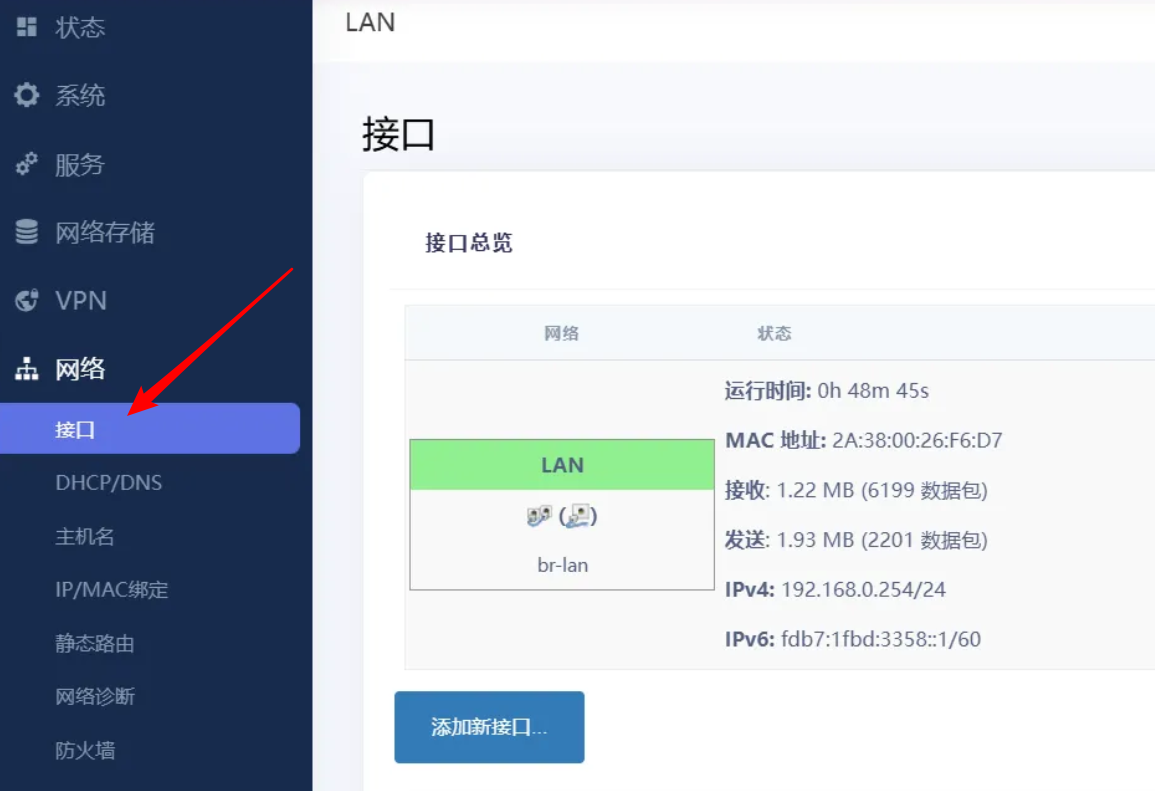
How to Check Your Router Gateway (Windows)
If you are unsure about your router’s gateway address and subnet, use one of the following methods.
- Method 1: Router Admin Panel
- Access your router’s management interface and check the LAN settings.
![]()
![]()
- Access your router’s management interface and check the LAN settings.
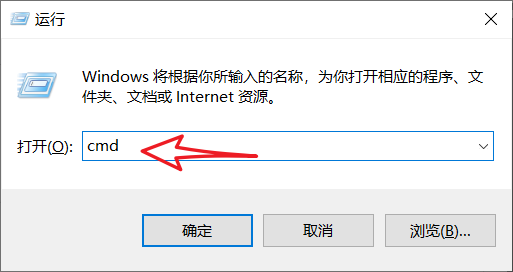
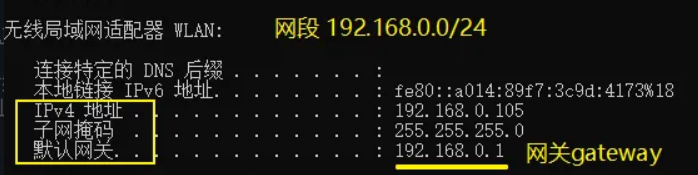
- Method 2: Command Line
- Press Win + R
- Enter:
cmd - Run:
ipconfig - Look for the Default Gateway field.
![]()
![]()


Verify the Docker Network
- Check whether the macvlan network was successfully created
docker network ls![]()

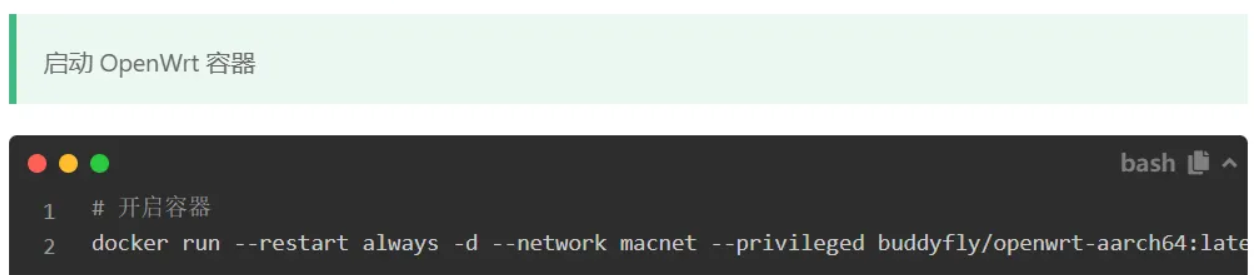
Start the OpenWrt Container
- Run the following command
1
2
3
4
docker run --restart always -d \
--network macnet \
--privileged \
buddyfly/openwrt-aarch64:latest![]()
![]()
- This command
- runs the container in background
- attaches it to the macvlan network
- enables privileged mode

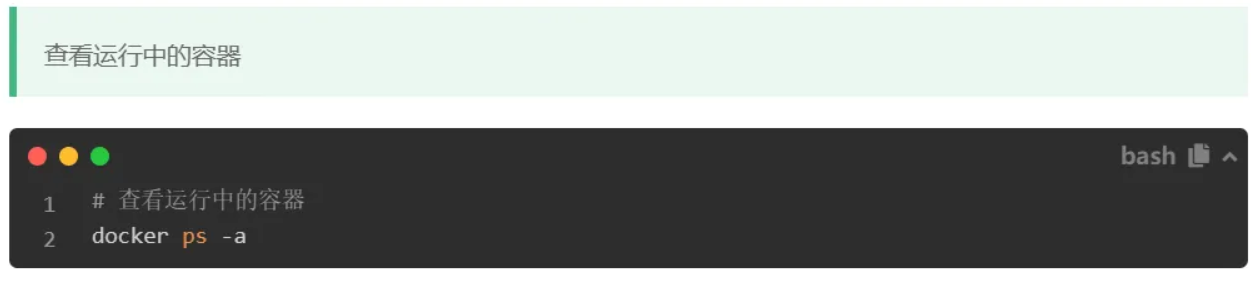
Verify the Running Container
- Check the running OpenWrt container
1
docker ps -a | grep openwrt
![]()
![]()

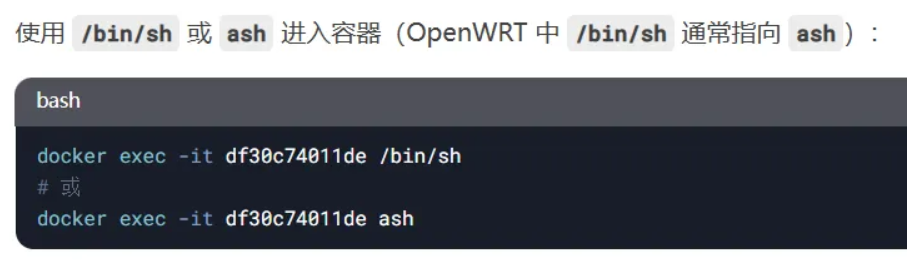
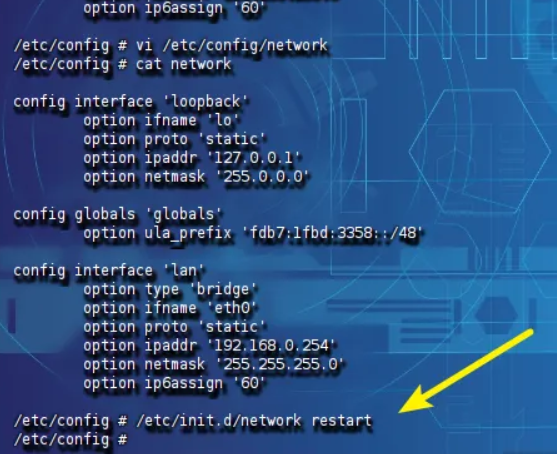
Modify the OpenWrt Container IP Address
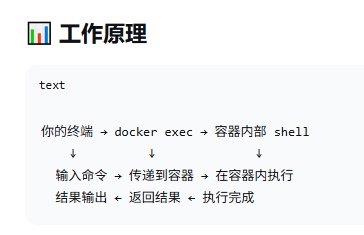
Enter the container shell
1 | docker exec -it <container_id> ash |

Edit the network configuration
1 | sudo nano /etc/config/network |
Modify the following fields
1 | option ipaddr '192.168.0.252' |
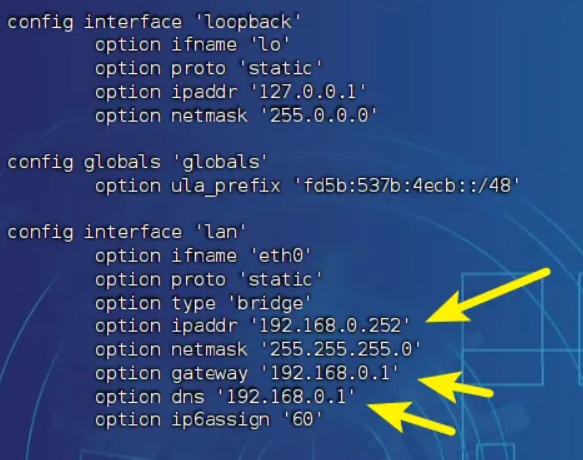
- Explanation
- ipaddr → the IP address of the bypass router
- gateway → the main router IP
- dns → usually the same as the gateway
Restart the network service
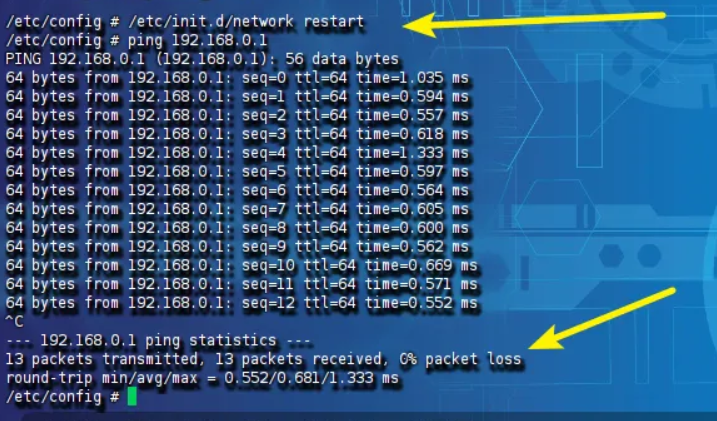
1 | /etc/init.d/network restart |
Test Network Connectivity
- Test connectivity with the main router
1
ping 192.168.0.1
![]()
If packets are received, the configuration is correct.
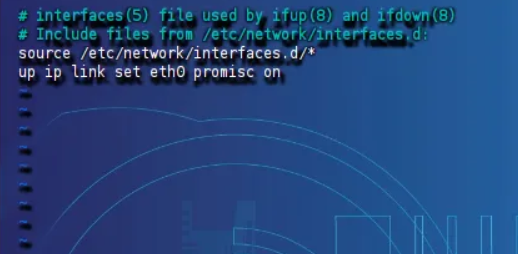
Permanently Enable Promiscuous Mode
- Exit the container and configure the host system.
- Edit the file
sudo nano /etc/network/interfaces
- Add one of the following lines.
- Wired
1
up ip link set eth0 promisc on
- WiFi
1
up ip link set wlan0 promisc on
![]()
- Wired
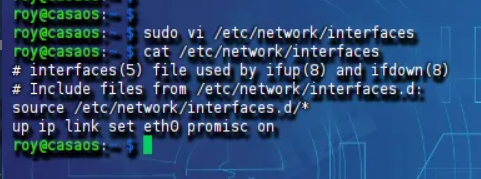
- Verify the configuration
cat /etc/network/interfaces![]()
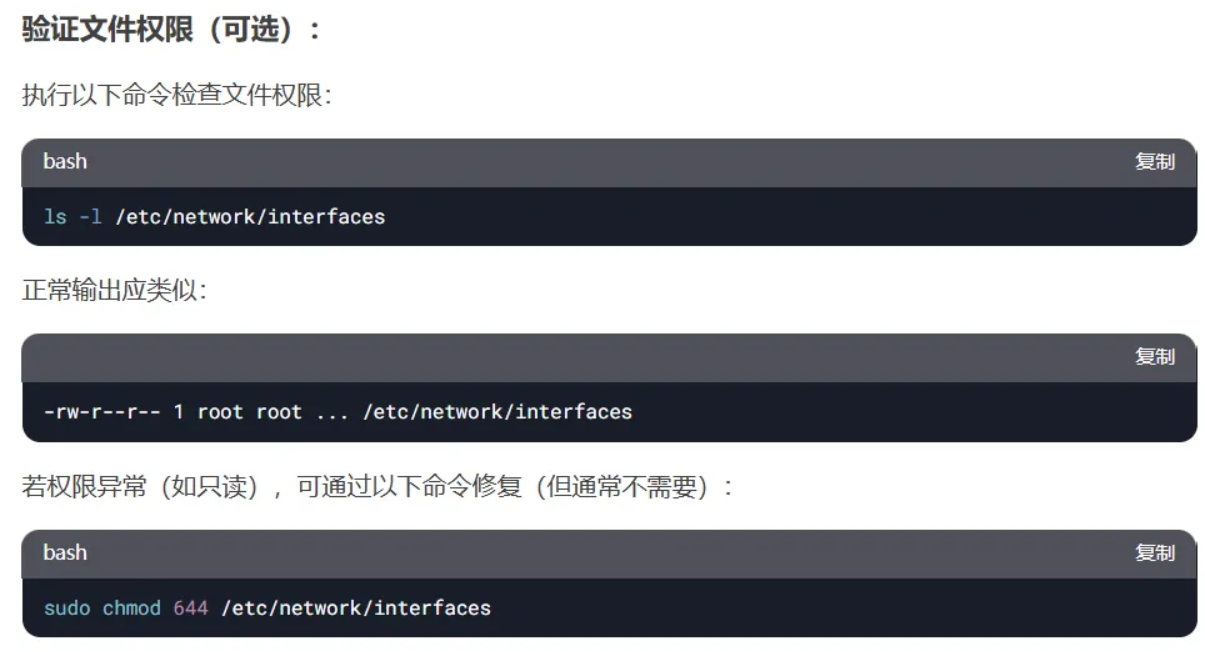
- If permission issues occur
1
2ls -l /etc/network/interfaces
sudo chmod 644 /etc/network/interfaces![]()
Access the OpenWrt Gateway
- Open the browser and enter
1
http://192.168.0.252
- Default credentials
1
2username: root
password: password![]()
- The first thing you should do is change the default password.
![]()

Change the System Theme
You can customize the OpenWrt interface theme through the system settings panel.

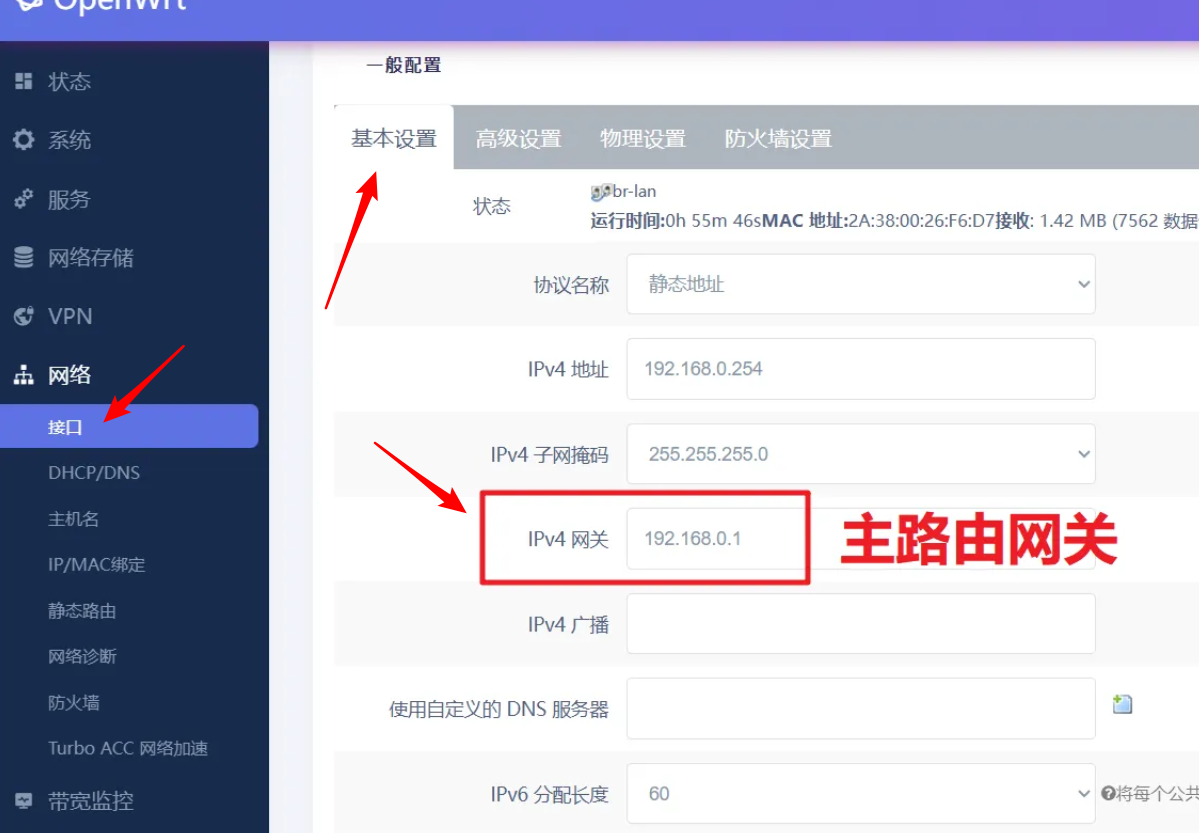
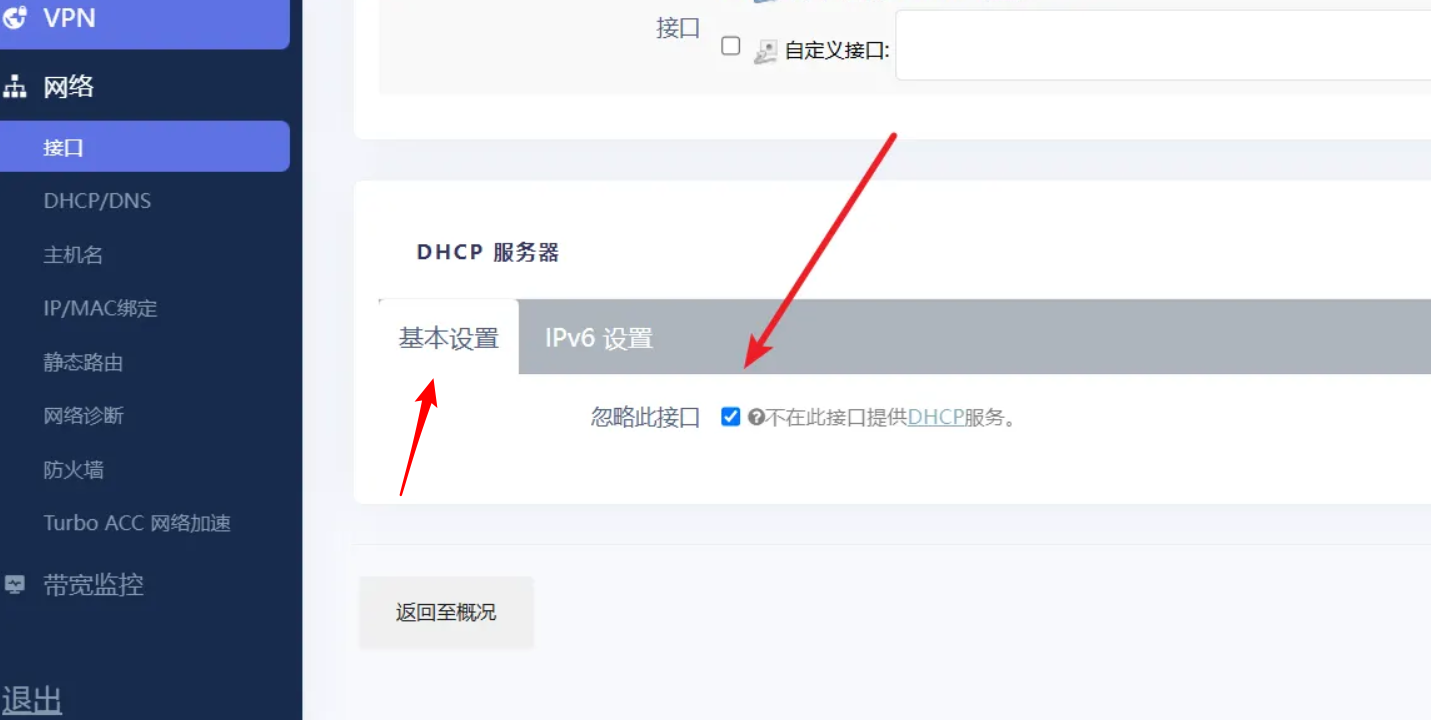
Configure the Upstream Router
Navigate to the network configuration page and set the upstream gateway to your main router.


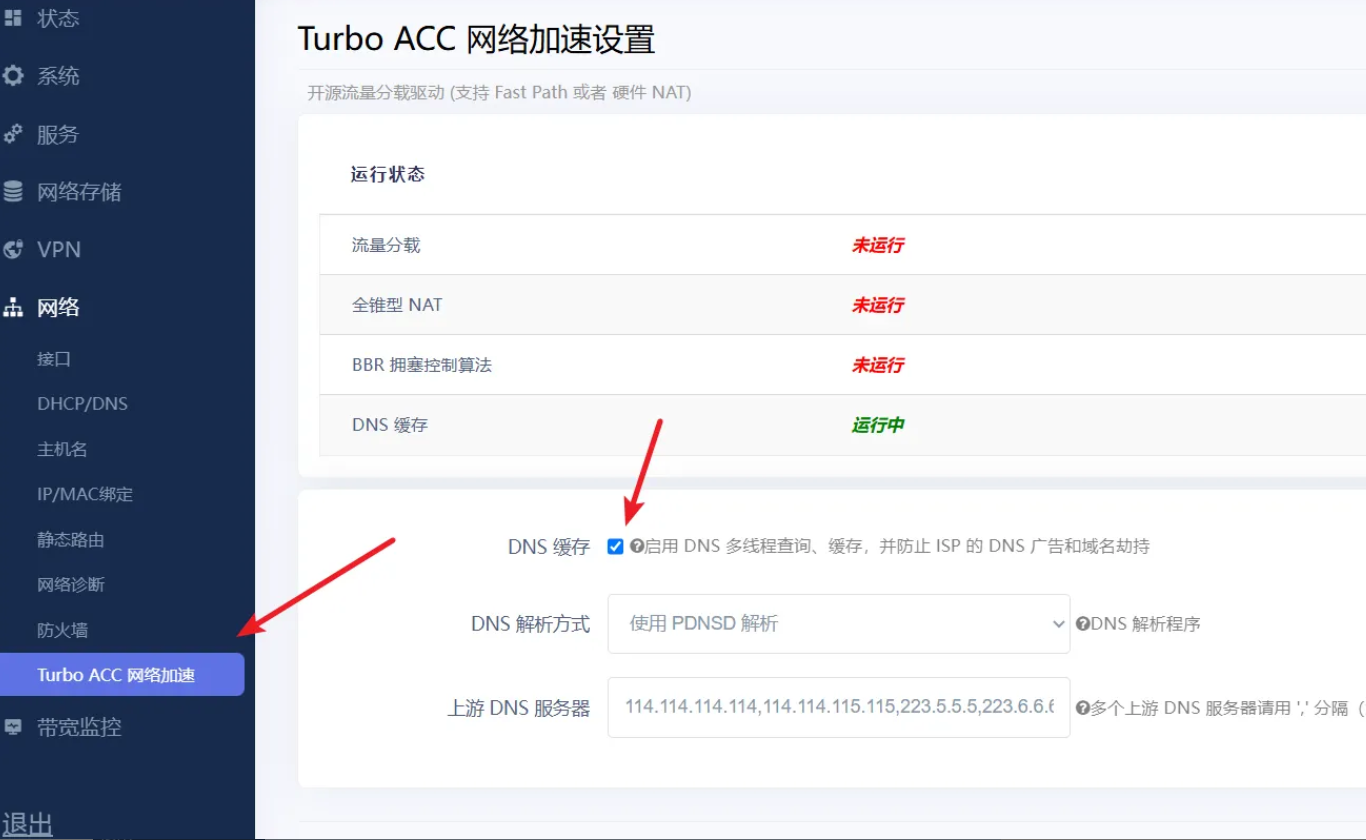
Network Acceleration Settings
Enable hardware or software acceleration options depending on your OpenWrt build.
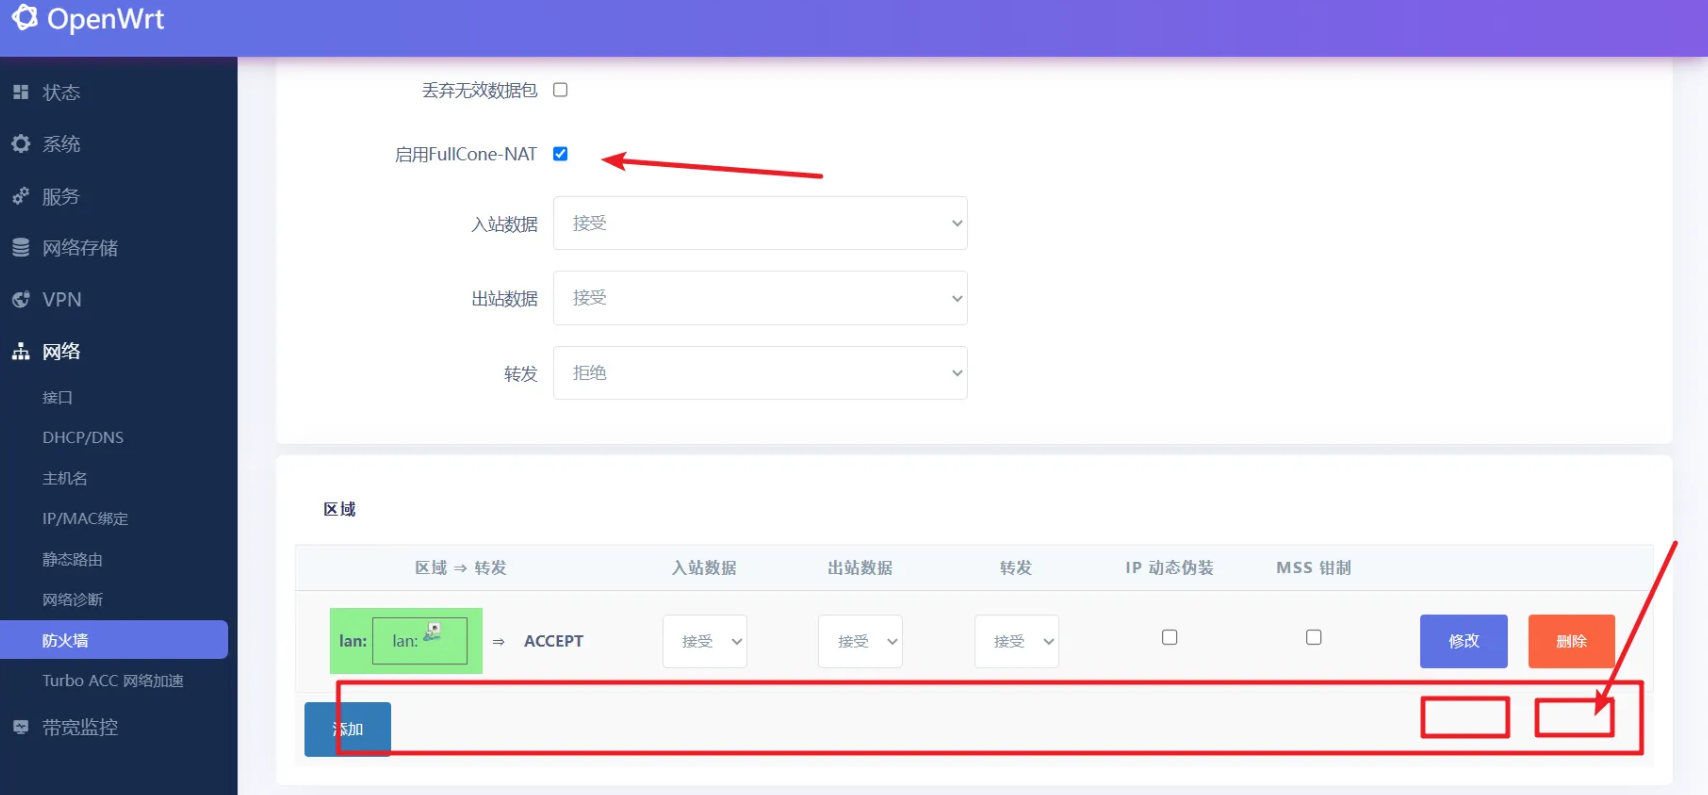
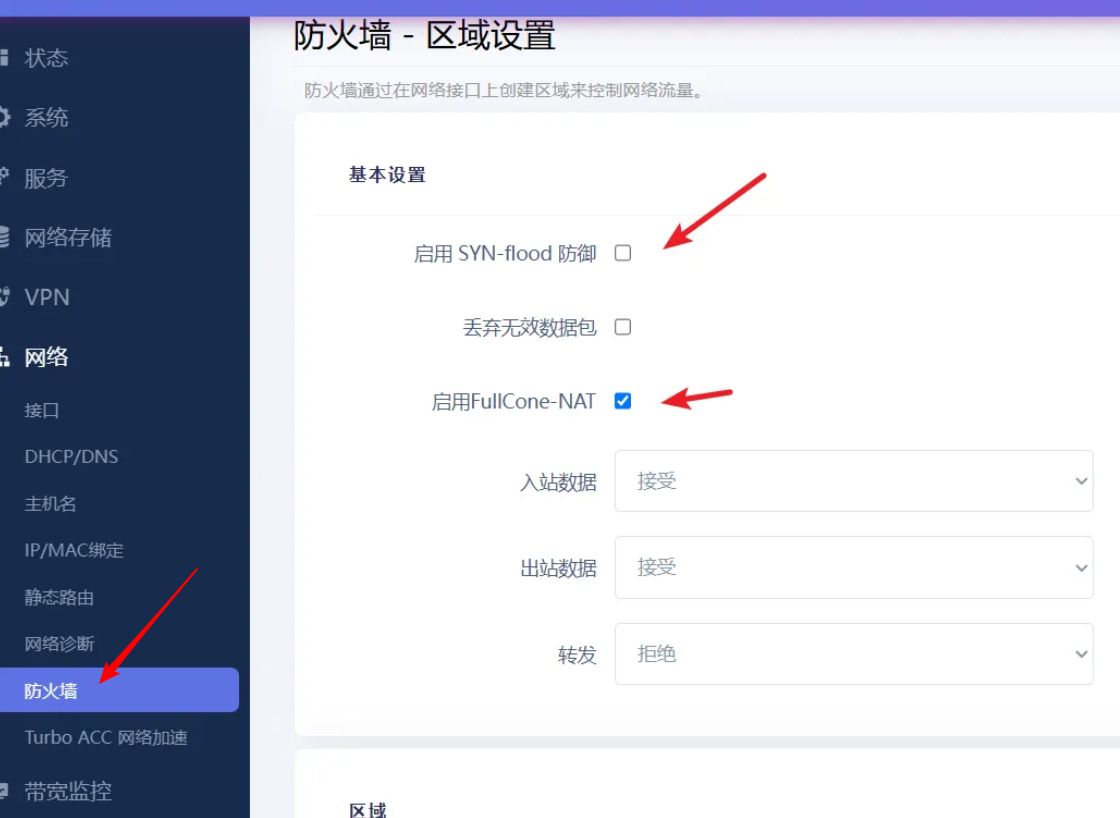
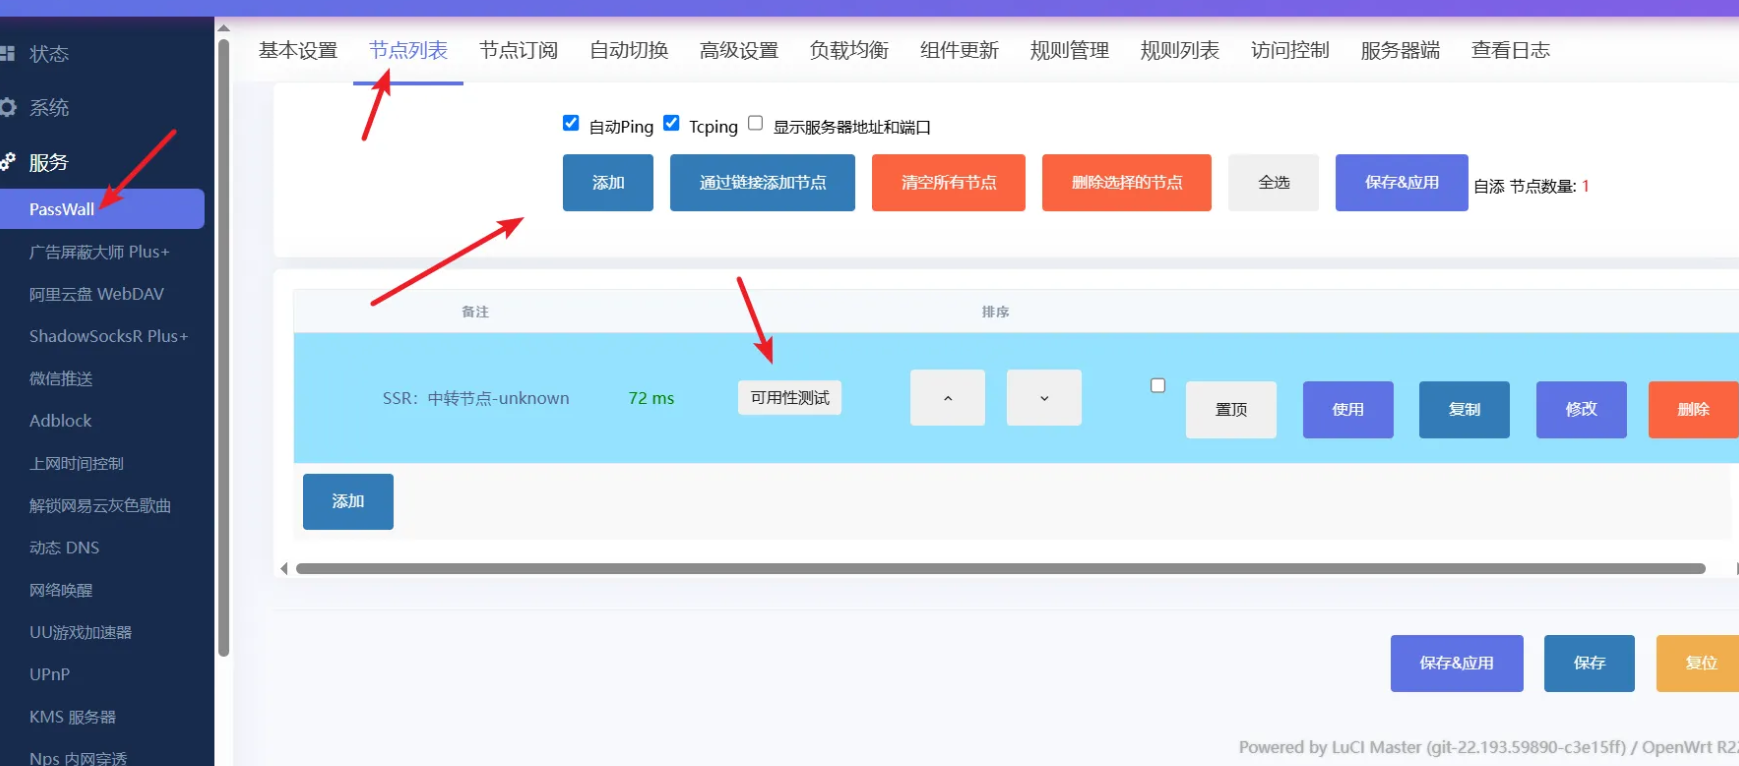
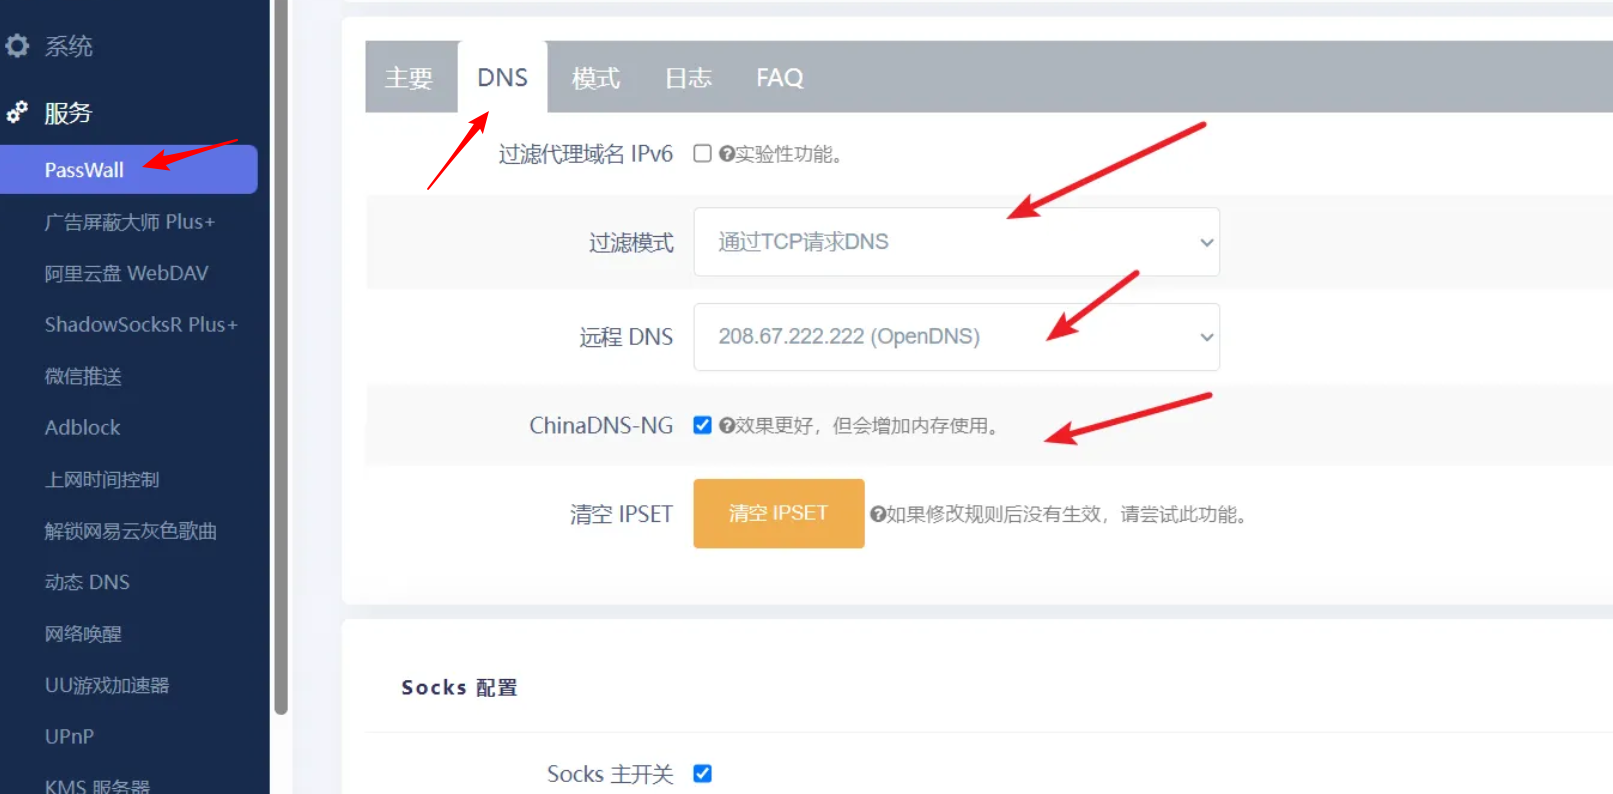
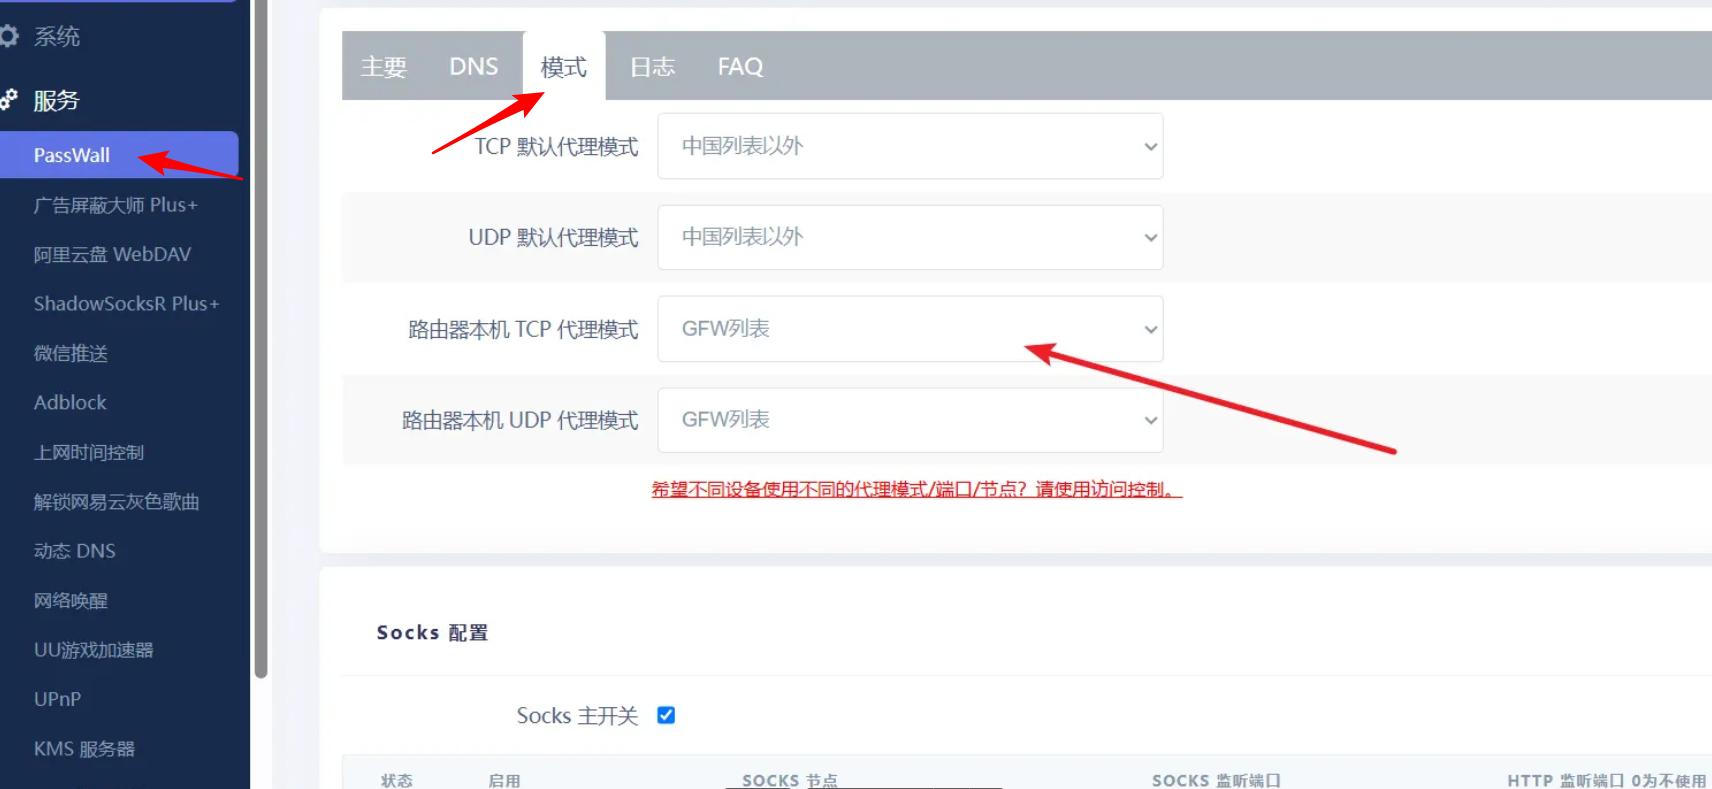
Configure the Proxy / Global Network Access
Install and configure the proxy plugin of your choice (for example OpenClash, Passwall, etc.).


Configure Devices to Use the Bypass Gateway
- For devices that should use the proxy
- Set the network configuration to manual.
- Assign an IP address within the LAN range.
- Example
1
2
3
4IP Address: 192.168.0.xxx
Subnet Mask: 255.255.255.0
Gateway: 192.168.0.252
DNS: 192.168.0.252Devices using this gateway will route their traffic through the Raspberry Pi bypass router.

Conclusion
By running OpenWrt in Docker with a macvlan network on a Raspberry Pi, we can easily create a flexible bypass router that integrates seamlessly with an existing home network.
This architecture allows selective routing of traffic through a proxy gateway while keeping the main router configuration untouched.
Connectivity Test Commands
Run the following commands on the Raspberry Pi host to verify that the gateway and external network access are working properly.
ip route showping 8.8.8.8curl -Iv https://www.youtube.com --connect-timeout 10curl -Iv https://www.google.com --connect-timeout 10