Tech-Roy Blog

技術分享 技術無界 開源至上

Introduction

CasaOS is an open-source home cloud system built on the Docker ecosystem. It provides a clean web interface and allows you to install applications such as NAS tools, media servers, and smart home services with just a few clicks.
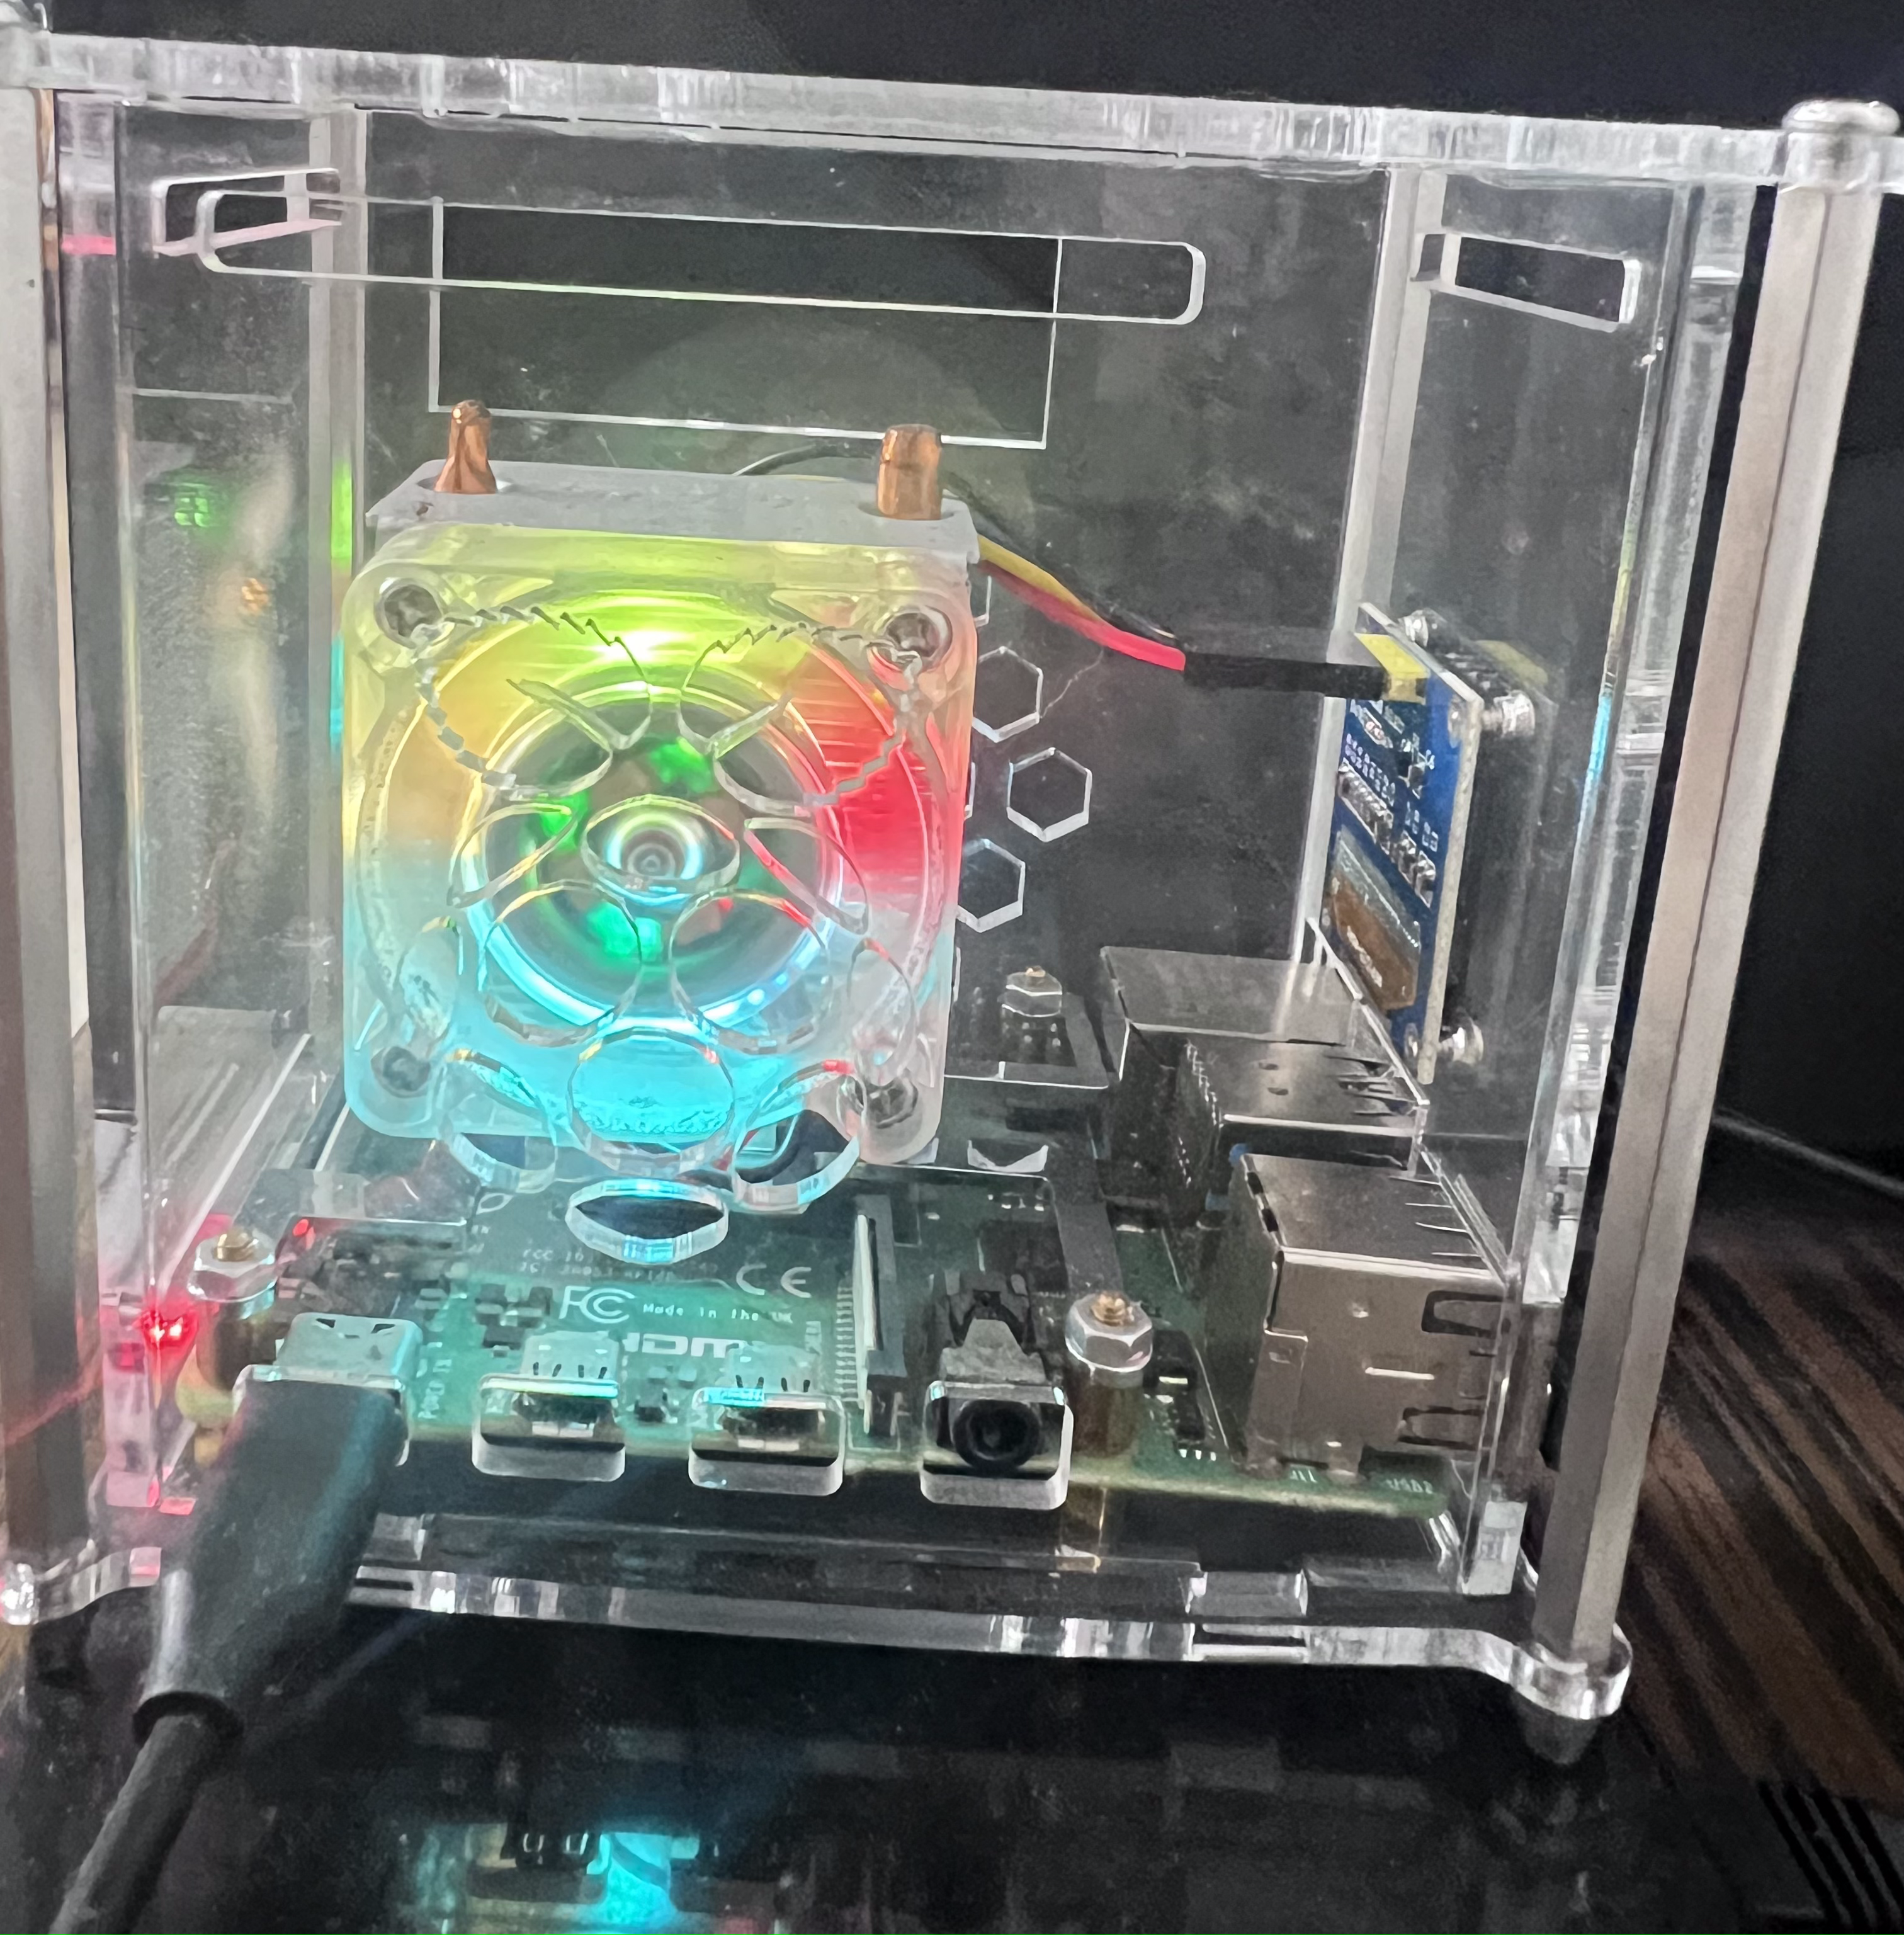
Running CasaOS on a Raspberry Pi 4B is a popular setup for building a small home server. CasaOS works well with Raspberry Pi OS (the 64-bit version is recommended), and the installation only takes a few minutes.

Prerequisites

  1. Hardware
    • Raspberry Pi 4B (2GB RAM or more recommended)
    • MicroSD card (at least 16GB, Class 10 recommended)
    • Power adapter
    • Network connection (Ethernet or WiFi)
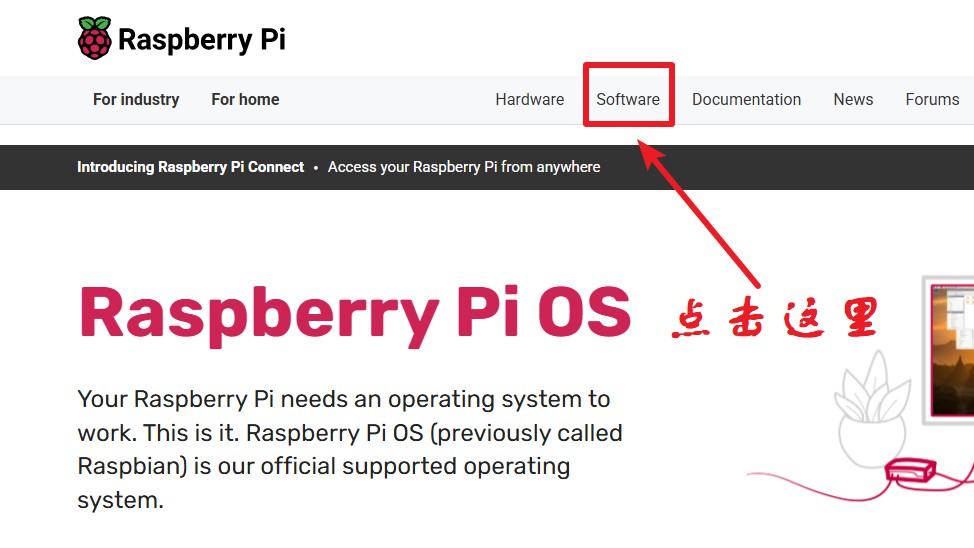
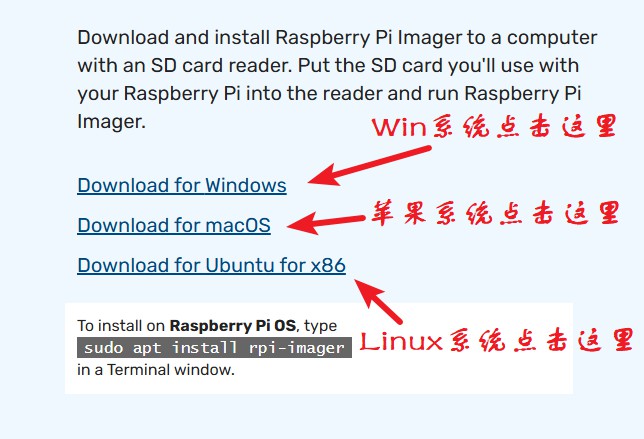
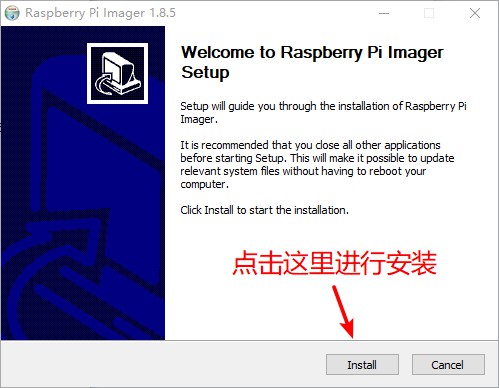
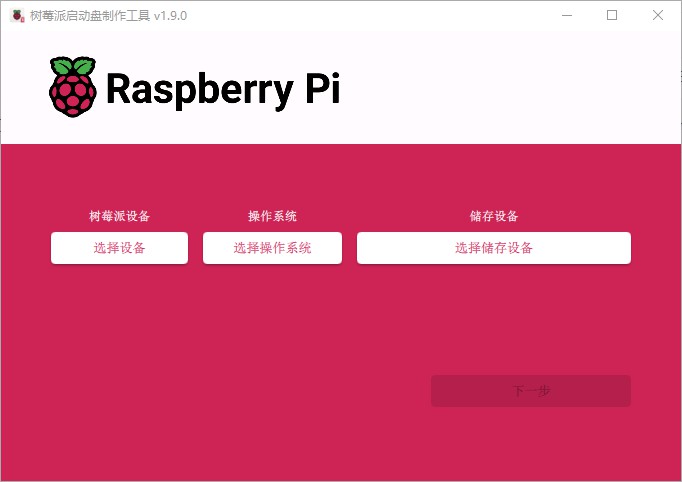
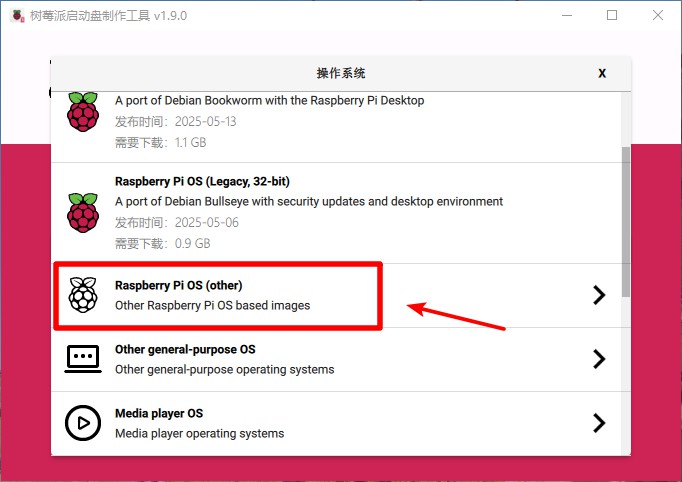
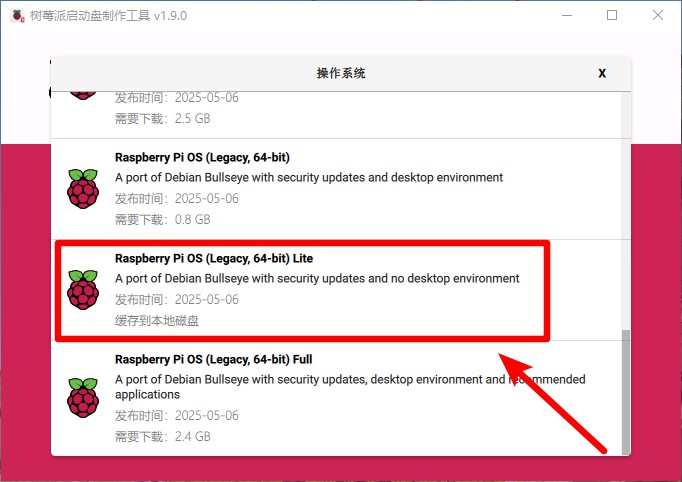
  2. Install Raspberry Pi OS

Update System Packages

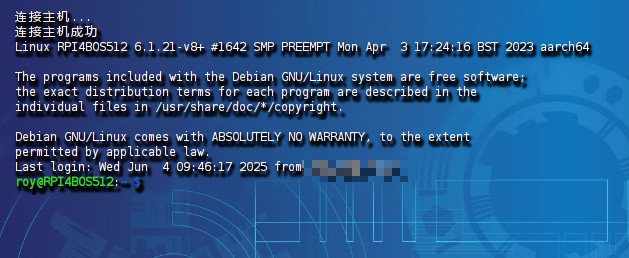
  • Connect to your Raspberry Pi via SSH.
    • Default credentials
      • Username: pi
      • Password: raspberry
  • Update the system packages
    1
    sudo apt update && sudo apt upgrade -y
  • Install curl if it is not already installed
    1
    sudo apt install curl -y

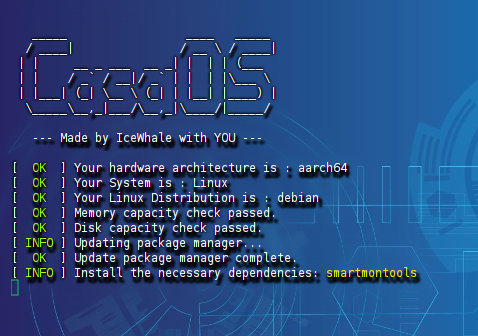
Run the CasaOS Installation Script

CasaOS provides a one-line installation script. Run the following command in the terminal:

1
curl -fsSL https://get.casaos.io | sudo bash
  • The script will automatically download and install CasaOS along with its Docker dependencies.
  • During installation, you will be asked to set the CasaOS administrator username and password.
    • Default credentials:
      • Username: casaos
      • Password: casaos
      • You can change them during setup.
  • After installation finishes, CasaOS will start automatically.

Alternative command (if curl is unavailable)

1
wget -qO- https://get.casaos.io | sudo bash


Access the CasaOS Web Interface

  1. Find the Raspberry Pi IP address
    • Run the following command in the terminal:hostname -I
    • You should see an IP address like 192.168.x.x.
  2. Open the web interface
    • On a device in the same network, open a browser and visit:http://<RaspberryPi-IP>:80( Example:http://192.168.0.109
    • Log in using the username and password you configured earlier.
    • On first login, CasaOS will guide you through the initial setup. After that, you can open the app store and install applications such as Nextcloud, Plex, or Home Assistant with a single click.


Uninstall CasaOS (Optional)

If you want to remove CasaOS, run the following command:

1
curl -fsSL https://get.casaos.io/uninstall | sudo bash

Notes and Tips

  • Port conflicts
    • CasaOS uses port 80 by default. If another service (such as Apache) is already using this port, you may need to change the CasaOS port in its configuration file.
  • Performance
    • CasaOS runs smoothly on Raspberry Pi 4B. When installing multiple applications, monitor CPU and memory usage. Using an external SSD instead of a MicroSD card can significantly improve performance.
  • Updating CasaOS
    • You can check for updates from the web interface under Settings, or run the following command casaos-ctl update.
  • Firewall settings
    • If ufw is enabled, make sure port 80 is allowed sudo ufw allow 80.

Create a .bashrc file

1
touch /home/roy/.bashrc


P.S.: “roy” is your username; please replace it with your own username.

Enter edit mode

1
2
cd /home/roy/
sudo nano /home/roy/.bashrc

~./.bashrc

1
2
3
4
5
6
7
8
9
10
11
12
13
14
15
16
17
18
19
20
21
22
23
24
25
26
27
28
29
30
31
32
33
34
35
36
37
38
39
40
41
# Add the user's local bin directory to PATH
# Global Environment Variable
export PATH="$HOME/.local/bin:$PATH"

# Hexo
alias hexocgd="hexo clean && hexo generate && hexo deploy"
alias hexo4000="hexo clean && hexo generate && hexo server"

# Quickly Command
alias rmd="rm -rf"
#alias e="vim ~/.bashrc"
alias e="nano ~/.bashrc"
alias s="source ~/.bashrc"
alias c="clear"
alias la="ls -la"
alias ll="ls -lah --color=auto"
alias grep="grep --color=auto"
alias catbashrc="cat ~/.bashrc"
alias ipcheck="ip route get 8.8.8.8"
alias testgoogle="curl -Iv https://www.google.com --connect-timeout 10"
alias testyoutube="curl -Iv https://www.youtube.com --connect-timeout 10"
alias restartdhcpcd="sudo systemctl restart dhcpcd"
alias dockerrestart="sudo systemctl daemon-reload && sudo systemctl restart docker && sudo systemctl status docker"
alias wificheck="sudo nmcli dev wifi list"
alias editdhcpcdconfig="sudo nano /etc/dhcpcd.conf"
alias rpishutdown="sudo shutdown -h now"
alias rpireboot="sudo reboot"

# Docker command
alias dps='docker ps -a --format "table {{.Names}}\t{{.ID}}\t{{.Status}}\t{{.Image}}"'

# Quickly come to file address
alias ..="cd .."
alias ...="cd ../.."
alias ~="cd /home/roy"

# Functions
# Create a directory and immediately enter it
mkcd() {
mkdir -p "$1" && cd "$1"
}

Make it effective

1
source /home/roy/.bashrc

Check if the file has been created.

1
ls -la /home/roy/.bashrc

Have all file permissions

1
sudo chmod -R 777 /home/roy/.bashrc

Introduction

Hi guys, this is the first article in my DIY Raspberry Pi NAS series. In this post, we will install Raspberry Pi OS on a Raspberry Pi single-board computer. After that, we will use it as the foundation to install various third-party applications and build the basic services of a NAS.

Required Equipment

  • Raspberry Pi 4B
  • 64GB microSD card
  • microSD card reader
  • Raspberry Pi power supply
  • Ethernet cable
  • HDMI cable
  • Mini HDMI adapter
  • Monitor

Procedure

  1. First, format the microSD card and prepare it for installing Raspberry Pi OS.
  2. Insert the microSD card into the card reader.
  3. Download Raspberry Pi Imager, the official image flashing tool for Raspberry Pi.
  4. Download the latest version (for example, imager_1.8.5) from the official Raspberry Pi website to ensure security, rather than downloading it from third-party platforms.
    4.1 Click here –> Raspberry Pi official website download link
    4.2 Go to the homepage and click “Software” in the top navigation bar.

    4.3 Scroll down and find “Download for XXX”.

    4.4 Download the file to any location on your local disk.

    4.5 After the download is complete, double-click the installer to start the installation. Click “Next” until the installation is finished, or choose any drive you prefer for installation.
  5. Open Raspberry Pi Imager and start flashing Raspberry Pi OS.

    5.1 Click “Choose Device” and select your Raspberry Pi model according to your needs.

    5.2 Click “Choose OS”.
    Notes:
    If you want to reduce power consumption, select Raspberry Pi OS (Legacy, 64-bit) Lite, which does not include a desktop environment and only provides a command-line interface.
    If power consumption is not a concern, select Raspberry Pi OS (Legacy, 64-bit) Full, which includes a graphical desktop environment.


    5.3 Click “Choose Storage” and select your storage device.

    5.4 Click “Next”. A pop-up window will appear. Click “Edit Settings”.


    5.5 Finally, click “Save” and then “Next”. A warning dialog will appear. Click “Confirm”. This will erase all existing data on the card, so make sure to back up your data if necessary.

  6. After the flashing process is complete, close the Raspberry Pi Imager.
  7. A system prompt may appear on your desktop asking to format the drive. Do not worry—just click “Cancel”.
  8. Remove the microSD card and insert it into the Raspberry Pi.
  9. Connect the Mini HDMI adapter, and use an HDMI cable to connect the Raspberry Pi to the monitor.
  10. Power on the Raspberry Pi and wait a few minutes for the system to initialize.
  11. When the command-line interface appears, enter the login username and password.
  12. Congratulations! Raspberry Pi OS has now been successfully installed.

Conclusion

After completing the steps above, we can move on to DIY this Ubuntu system on the Raspberry Pi.
Please stay tuned to this technical blog for the upcoming articles. Thank you!

Founded

June 7, 2025

Purpose

To document my hands-on experiences, I record my practical work and processes in English to improve my writing skills while sharing technical insights along the way.

Slogan

Technology Sharing·Technology Without Boundaries·Open Source Above All

Website

https://tech-roy.uk/

Website Avatar

0%