Deploying Jellyfin On Raspberry Pi 4B
Overview
Jellyfin is a free, open-source media server that lets you organize, manage, and stream your personal collection of movies, TV shows, music, and photos. It turns your local files into a clean, Netflix-like library accessible from phones, TVs, browsers, or any compatible client — all without subscriptions, licenses, or paywalls. You own your data completely.
Key strengths on a Pi 4B: lightweight enough to run 24/7, supports basic transcoding (though CPU-limited), multi-user accounts, plugins for metadata scraping (Douban, TMDb, etc.), and a nice web UI + apps for almost every device.
Features at a Glance
- Personal media library with automatic organization
- On-the-fly transcoding (CPU fallback on Pi)
- Clients for Android, iOS, Roku, Fire TV, web, etc.
- Extensible via plugins (metadata, skins, intro skipper, etc.)
- Poster walls, collections, watch lists, live TV/DVR support
Installation via Docker (Recommended for Pi)
Docker is the cleanest way on Raspberry Pi OS — easy updates, isolated, and portable.
Update the system (always start here)
1 | sudo apt update && sudo apt upgrade -y |
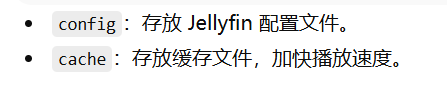
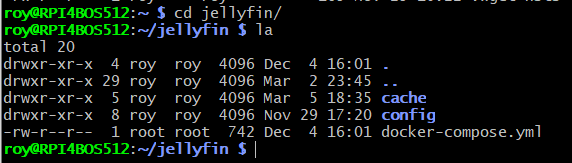
Create directories for persistent data
Use a dedicated folder under your home dir (or wherever you prefer).
1 | mkdir -p ~/jellyfin/config ~/jellyfin/cache |
Create and edit docker-compose.yml
1 | cd ~/jellyfin |
Here’s a solid, modern compose file (adjusted for Pi 4B realities):
1 | version: "3.8" |
- Important note on hardware acceleration
1
2On Raspberry Pi 4B, hardware transcoding via /dev/dri (VideoCore VI) is deprecated and unreliable in recent Jellyfin versions (10.9+). Official docs dropped support because it was immature, often fell back to CPU anyway, and Pi 5 has no hardware encoder at all.
Most users on Pi 4B run without it — direct play works fine for compatible clients (e.g., VLC, Infuse). If you force /dev/dri, you might get partial decode but no real gains and possible crashes. Leave it commented unless you're on an older version and have tested it.
Start the container
1 | cd ~/jellyfin |
Access the web UI
- Open your browser
1
http://<your-pi-ip>:8096 (e.g., http://192.168.0.109:8096)
First run → wizard sets up library paths, users, metadata languages, etc.
Useful Docker Commands (CLI cheatsheet)
1 | Follow logs in real time |
Making Jellyfin Better (Plugins & Tweaks)
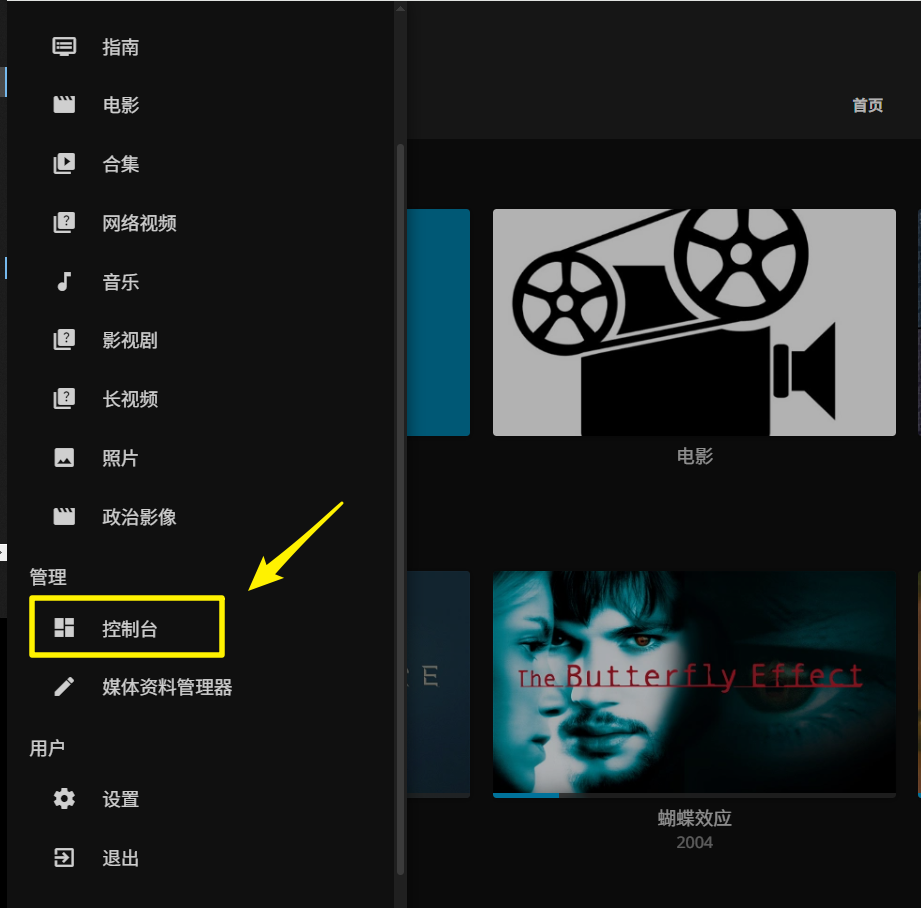
Install plugins via Dashboard → Plugins → Catalog
Popular ones
- Douban metadata (for Chinese titles, actors, ratings)
- TMDb Box Sets / Collections
- Intro Skipper (auto-skip TV intros)
- MetaShark or similar for better scraping
Recommended reading (Chinese-focused)
Please following articles as below to enhance your Jellyfin
YouTube guides worth watching
利用NAS加Jellyfin打造个人影音库
Jellyfin实用插件两枚 — MetaShark + intro skipper
群晖Jellyfin装豆瓣插件
家庭影院一条龙
开源免费,实现本地视频自动刮削,字幕下载,海报墙展示
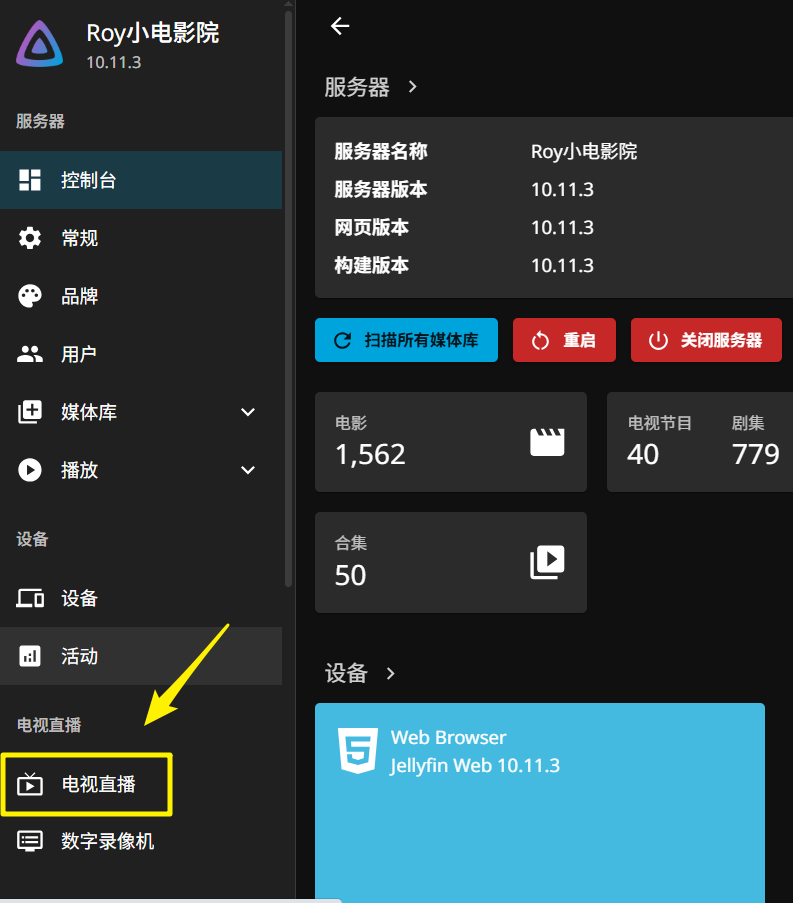
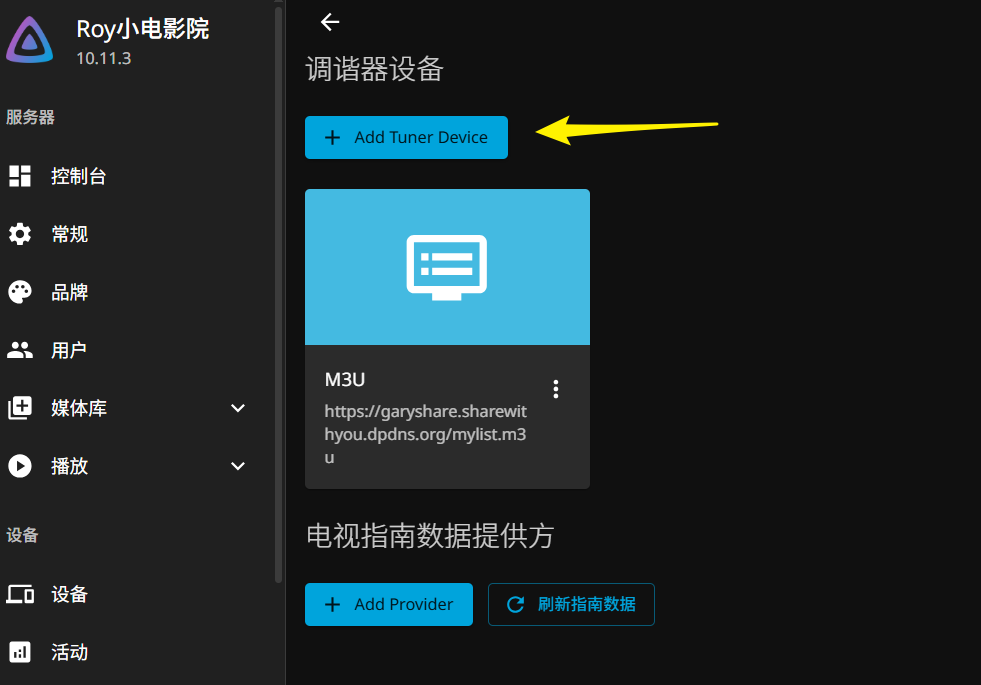
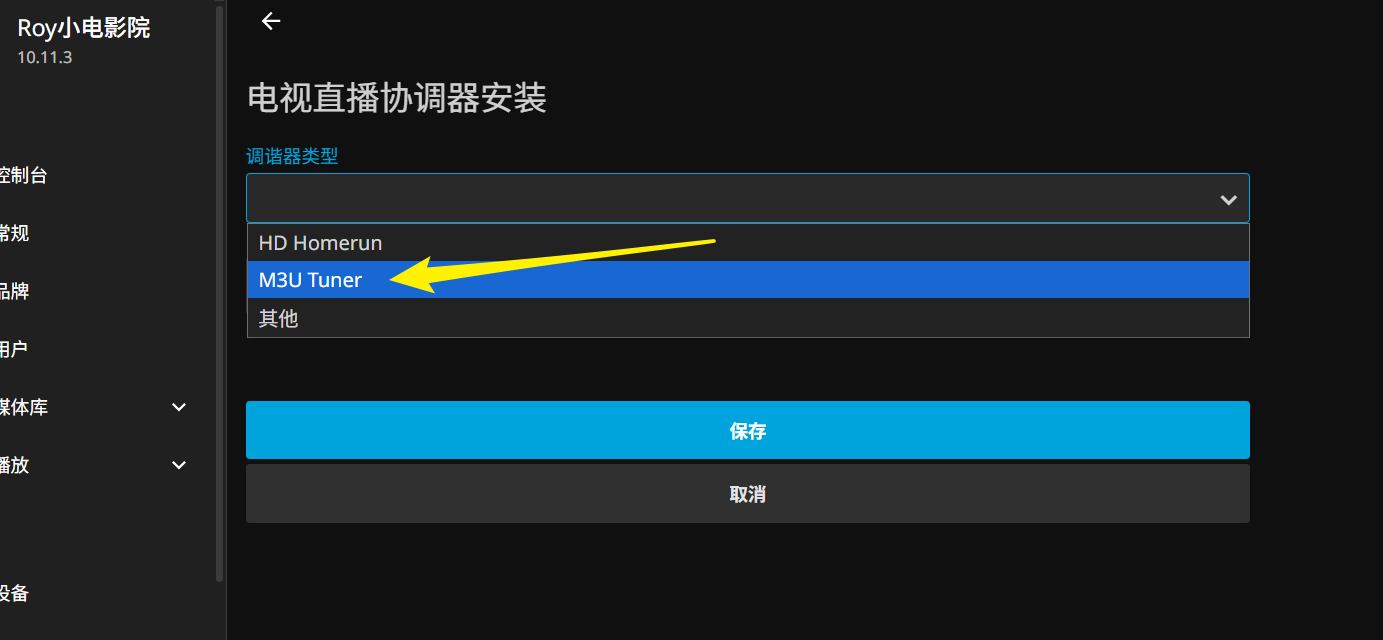
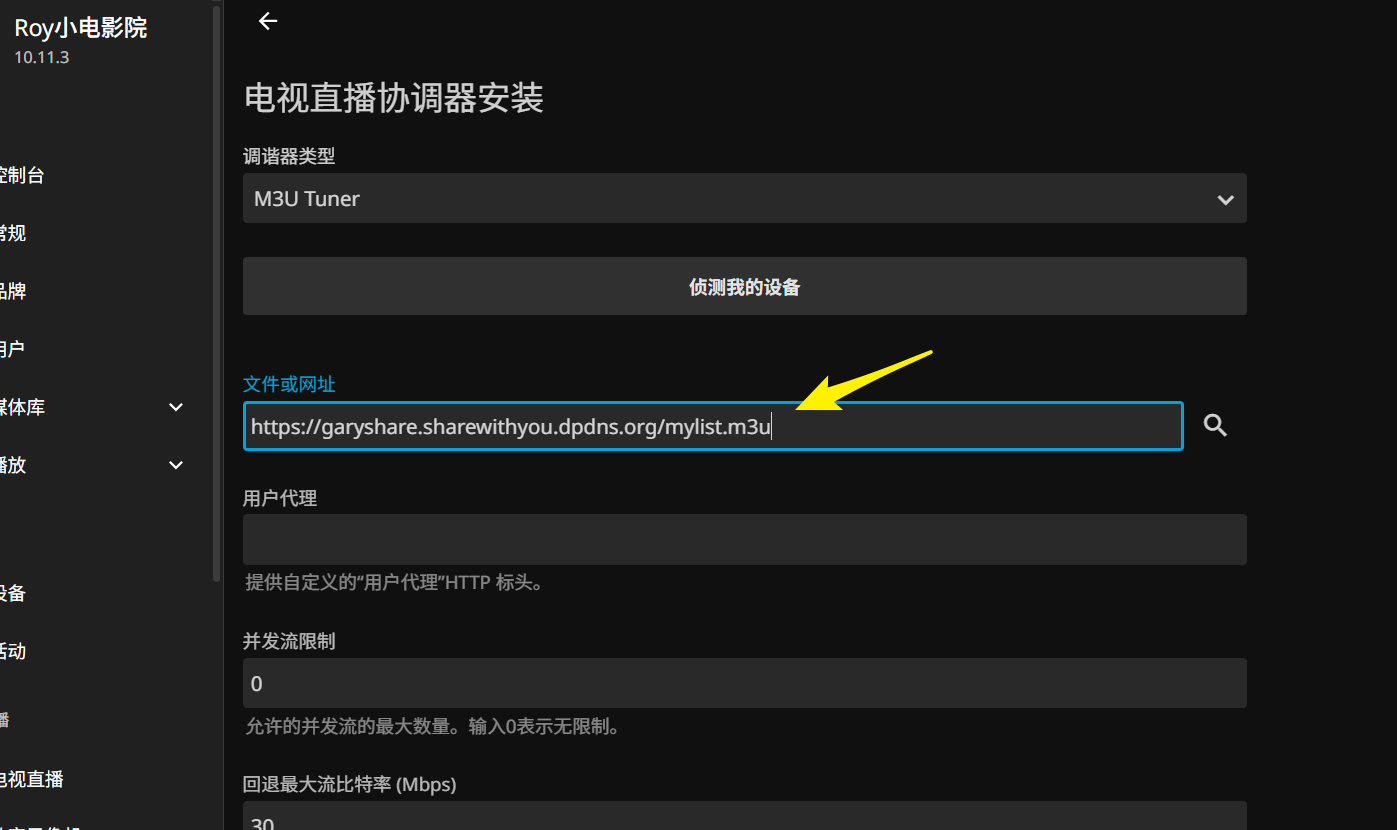
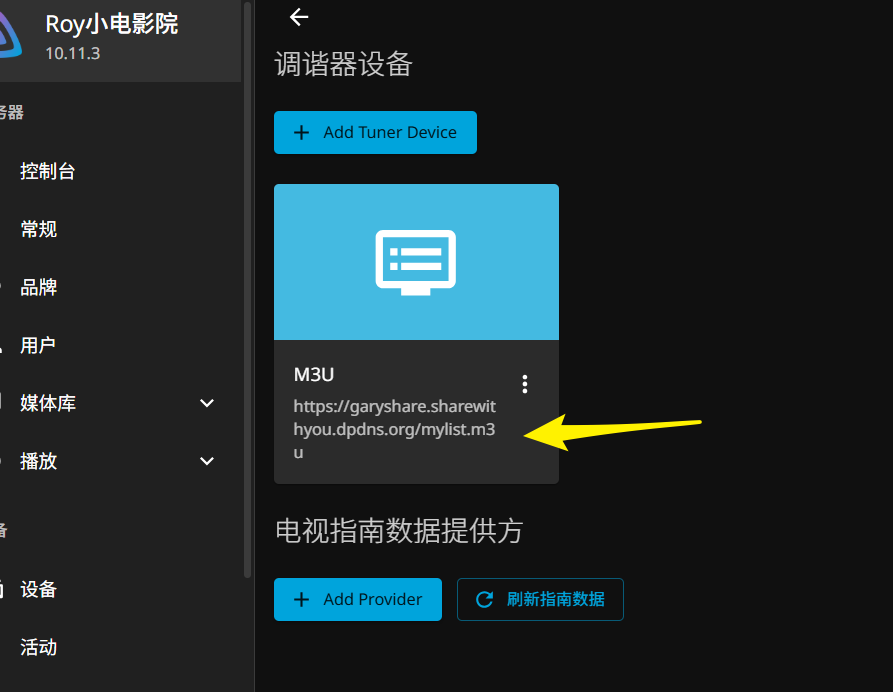
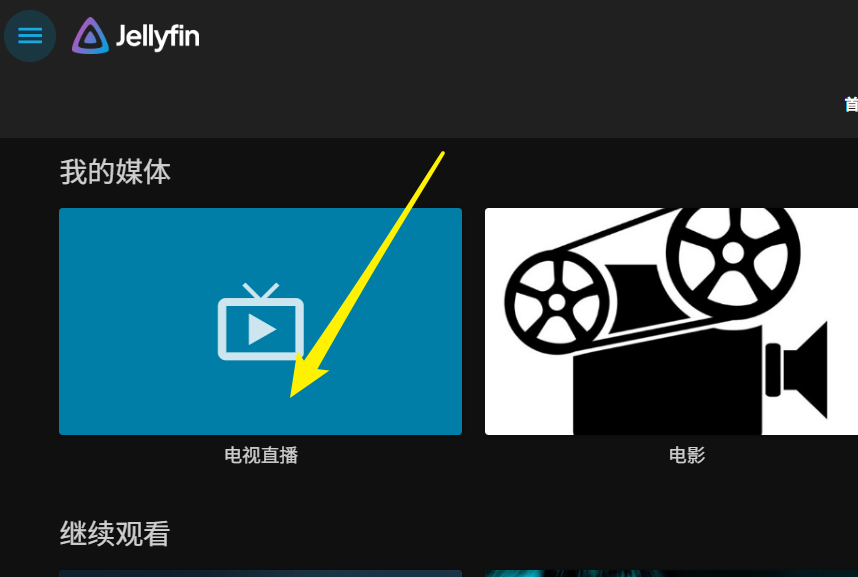
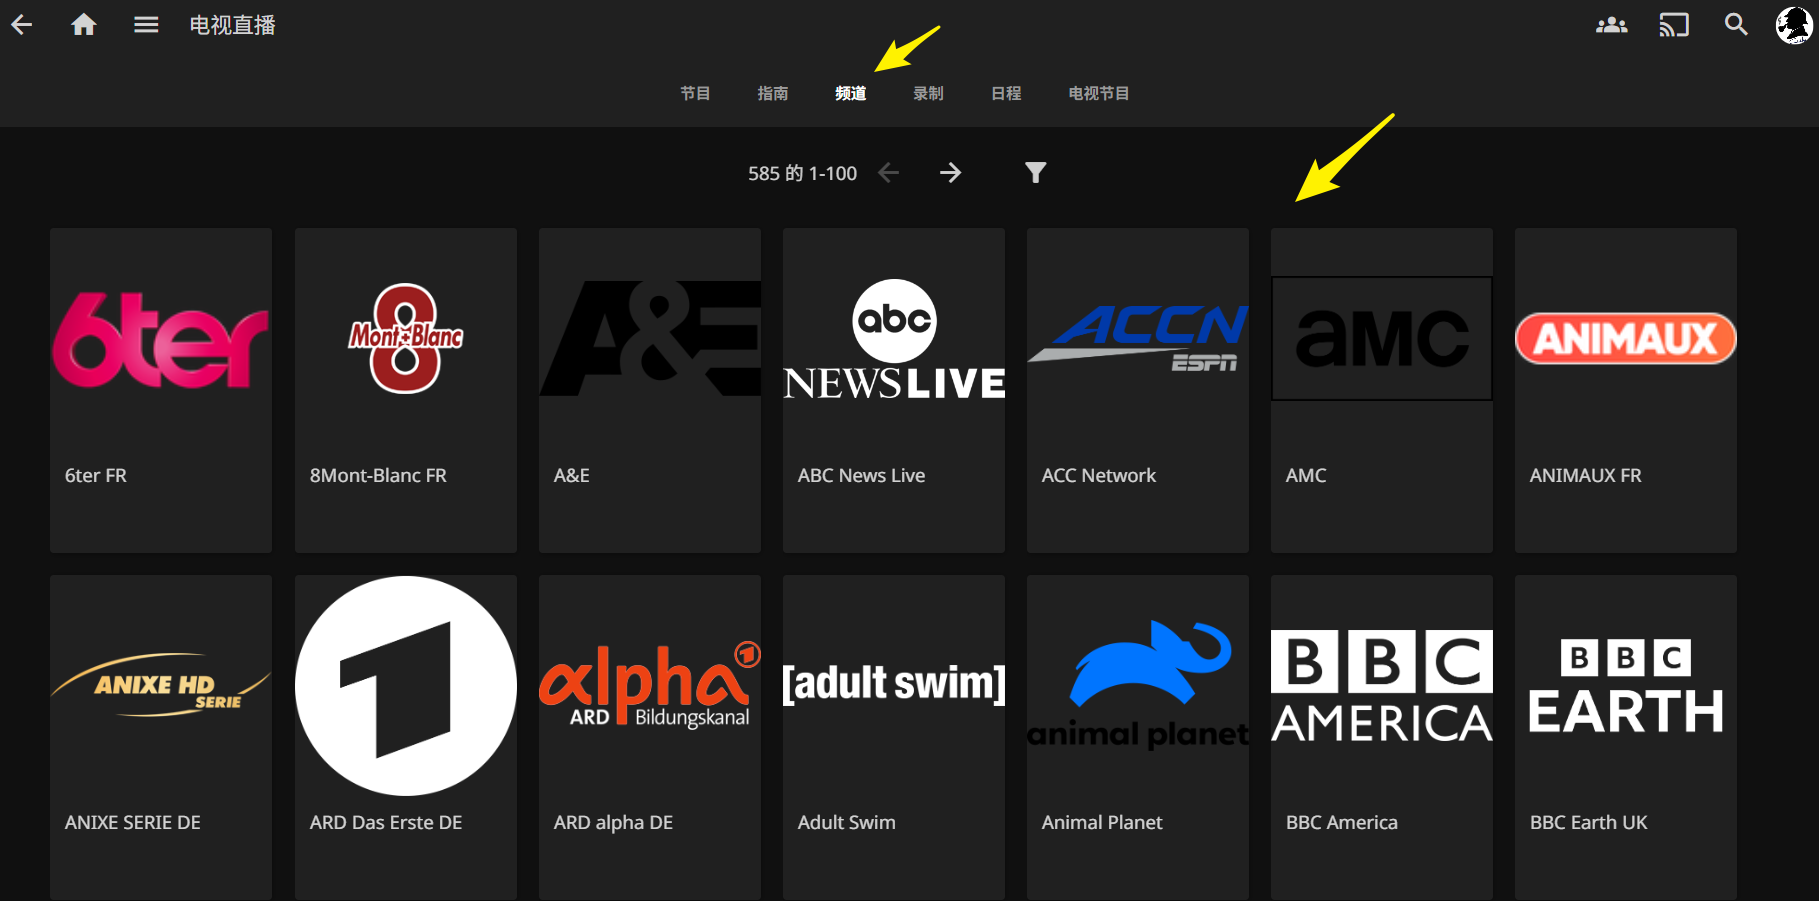
Live TV / IPTV Setup
Add an M3U playlist for free channels:
- Subscription URL example: https://garyshare.sharewithyou.dpdns.org/mylist.m3u
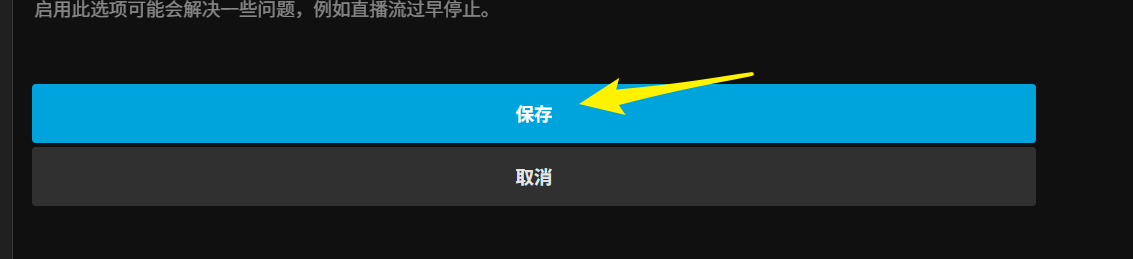
- In Jellyfin: Dashboard → Live TV → Add Tuner → M3U Tuner → paste URL → follow wizard for guide data (XMLTV if available).

References
- Official docs: Jellyfin Docs
- Docker-specific: Jellyfin Docker
- Hardware accel info: Hardware Acceleration
This setup gives you a rock-solid personal media server on Pi 4B — low power, always-on, and expandable. Direct play is king here; avoid heavy transcoding unless you upgrade to a mini PC later. Hit me up if you run into permission issues with volumes or plugin setup. Enjoy the poster wall! 🍿